


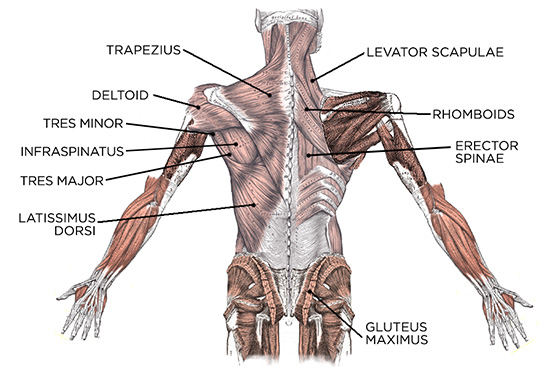
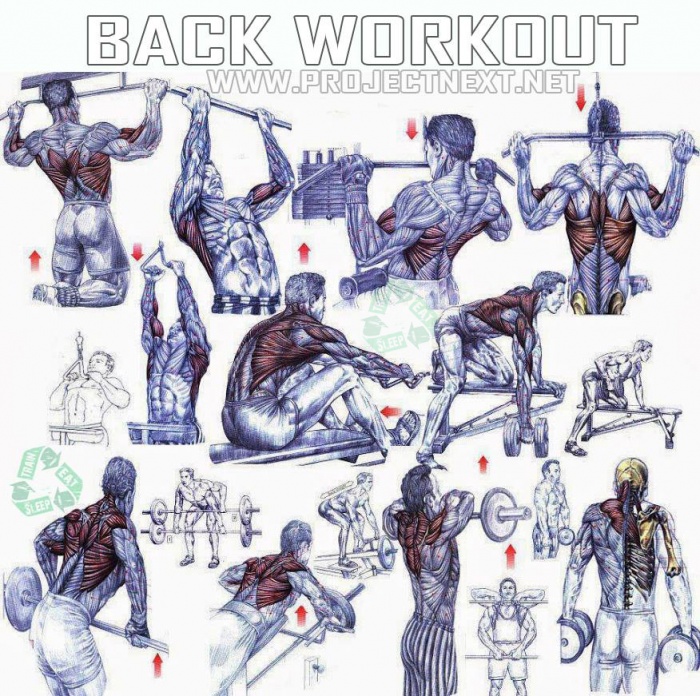
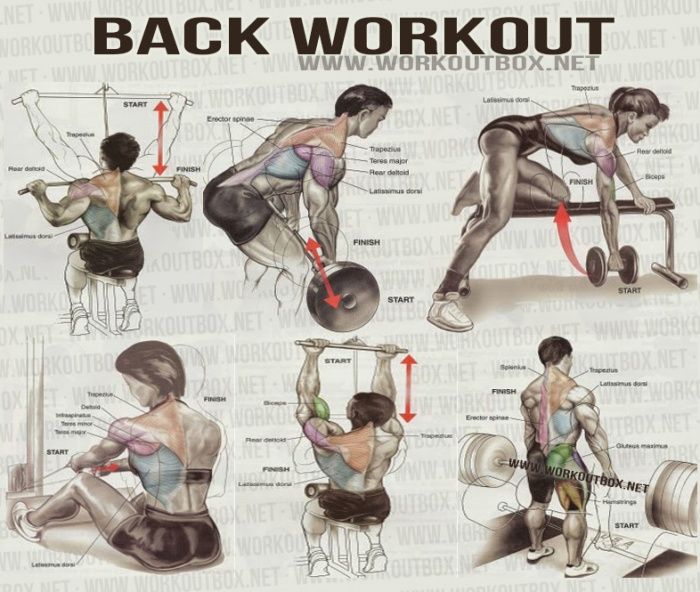
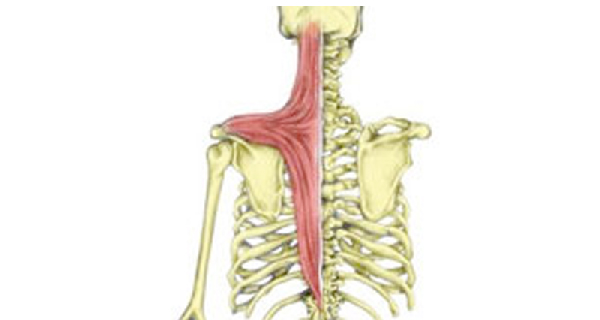
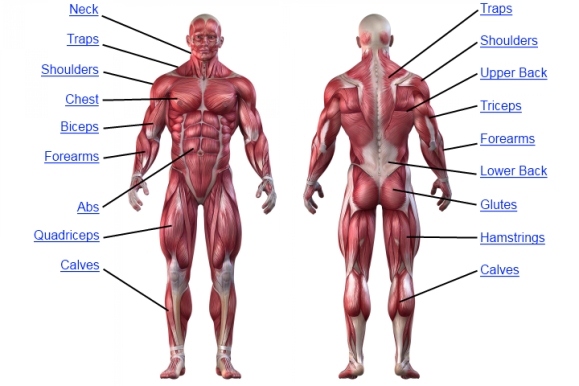
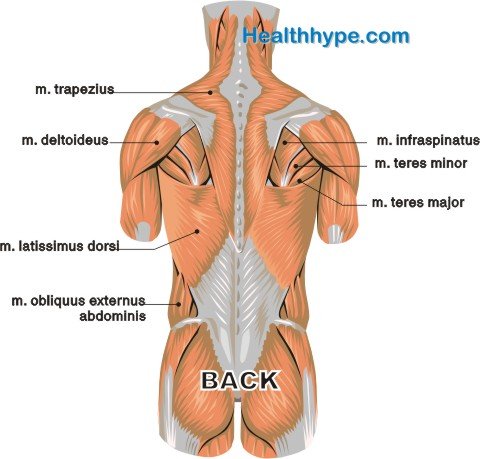
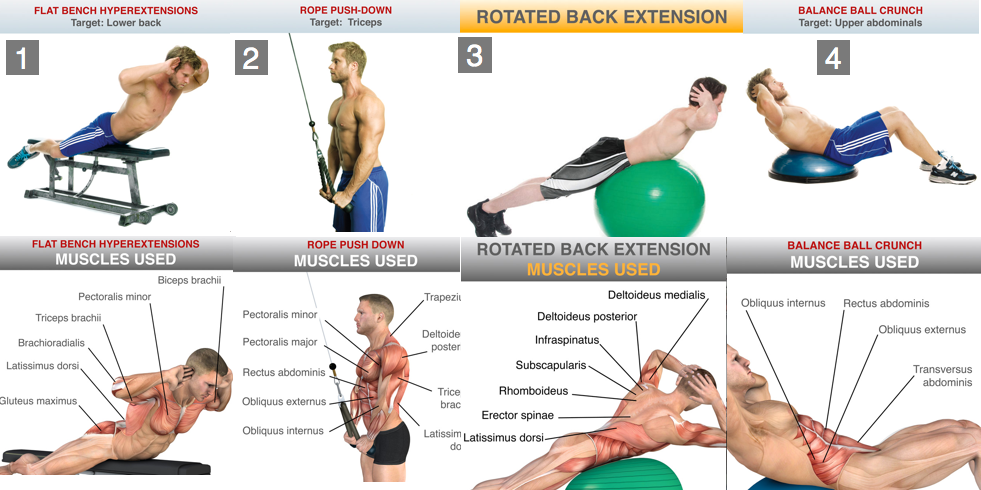
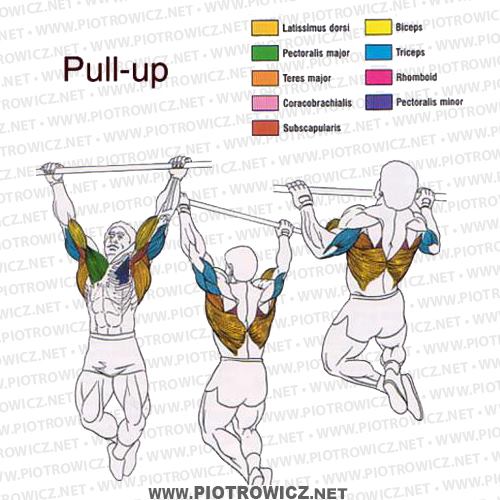
The back isn't only one of the body's biggest and strongest bodyparts, it's also the most complicated in terms of being a series of interconnected muscle groups. For the purposes of this feature we're dividing the back into its four main regions: 1) the upper and outer lats, 2) the lower lats, 3) the middle back and 4) the lower back. Each area requires specific stimulation via the exercises and angles of attack used, and we'll show you the two best exercises for each.
With this menu, you can customize your own workout by choosing one exercise from each category to create a total program. Or if one region is lagging, you can pick additional movements that hit that area only. Either way, fully understanding which back exercises hit which portions of your back will allow you to build shape (in particular the V-taper), thickness and width.
Note: Many of the exercises we include here do not isolate but rather emphasize certain areas of the back musculature.


/about/About-2A17-SquatKicks-946-570d676b5f9b5814087f402b.jpg)
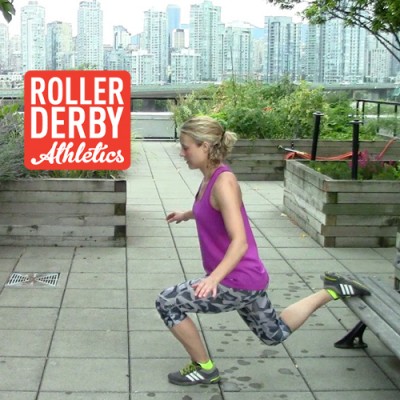
/about/About-2A14-Lunges-922-570d58d73df78c7d9e431573.jpg)
/about/6-SquatSideStep-56fad6bc3df78c784198b062.jpg)
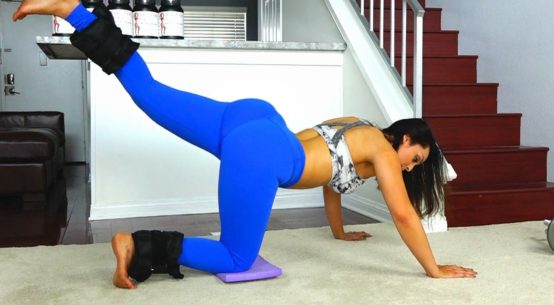
/about/7-GluteSqueezeBall-56fad6d33df78c784198b382.jpg)
/about/GettyImages-551987033-568ebee13df78cafda72f7ed.jpg)
/about/About-A39-FrontKickLunge-533-5712a2c55f9b588cc21a6075.jpg)


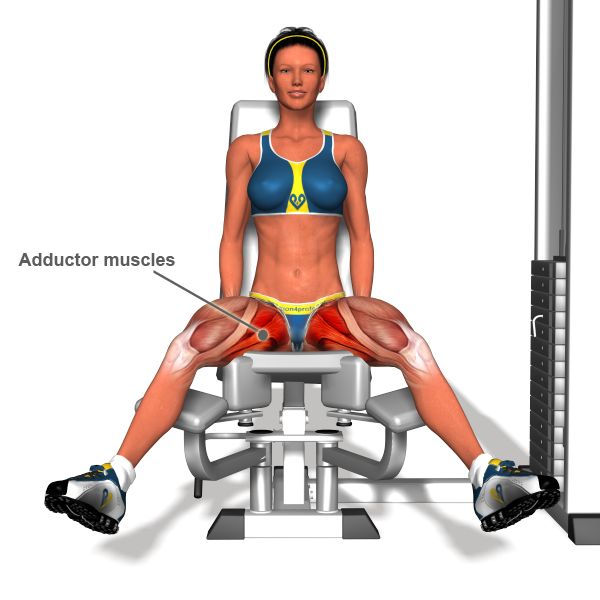
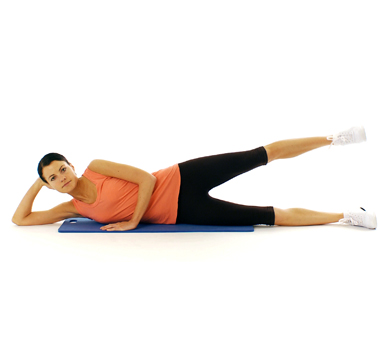
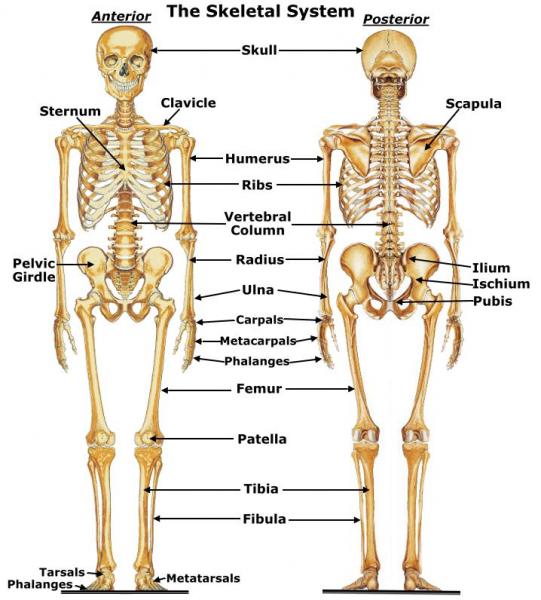
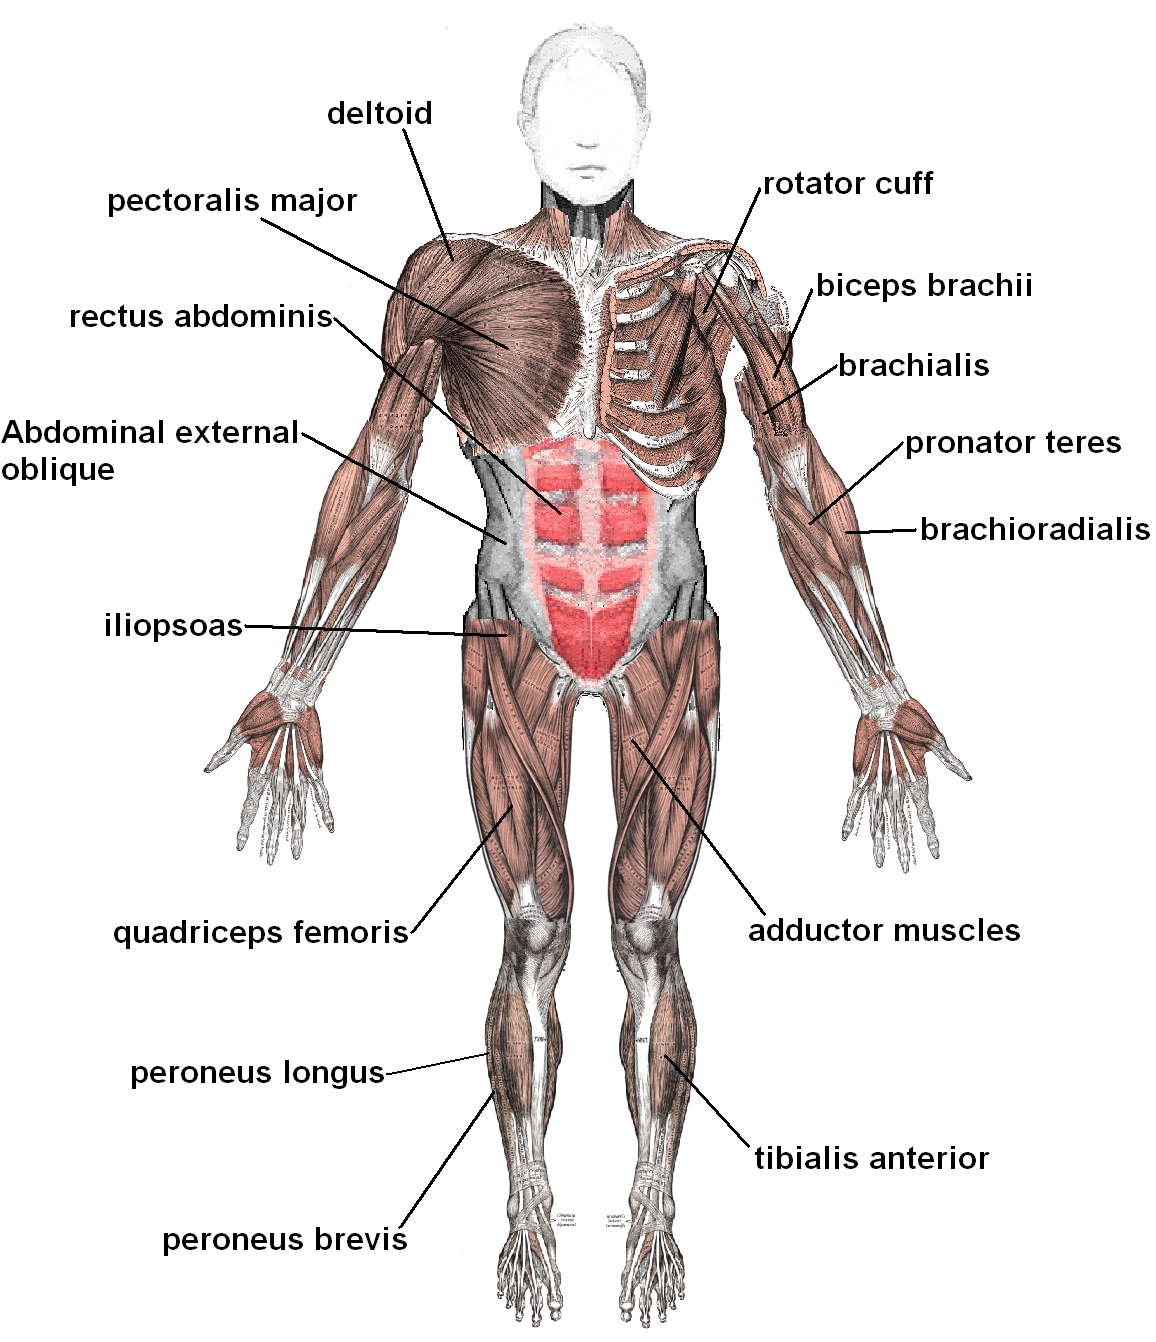
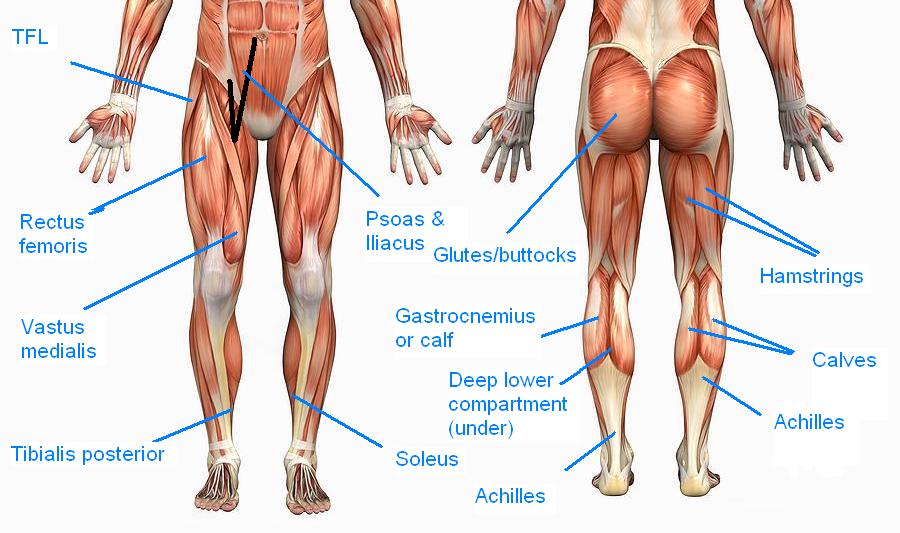
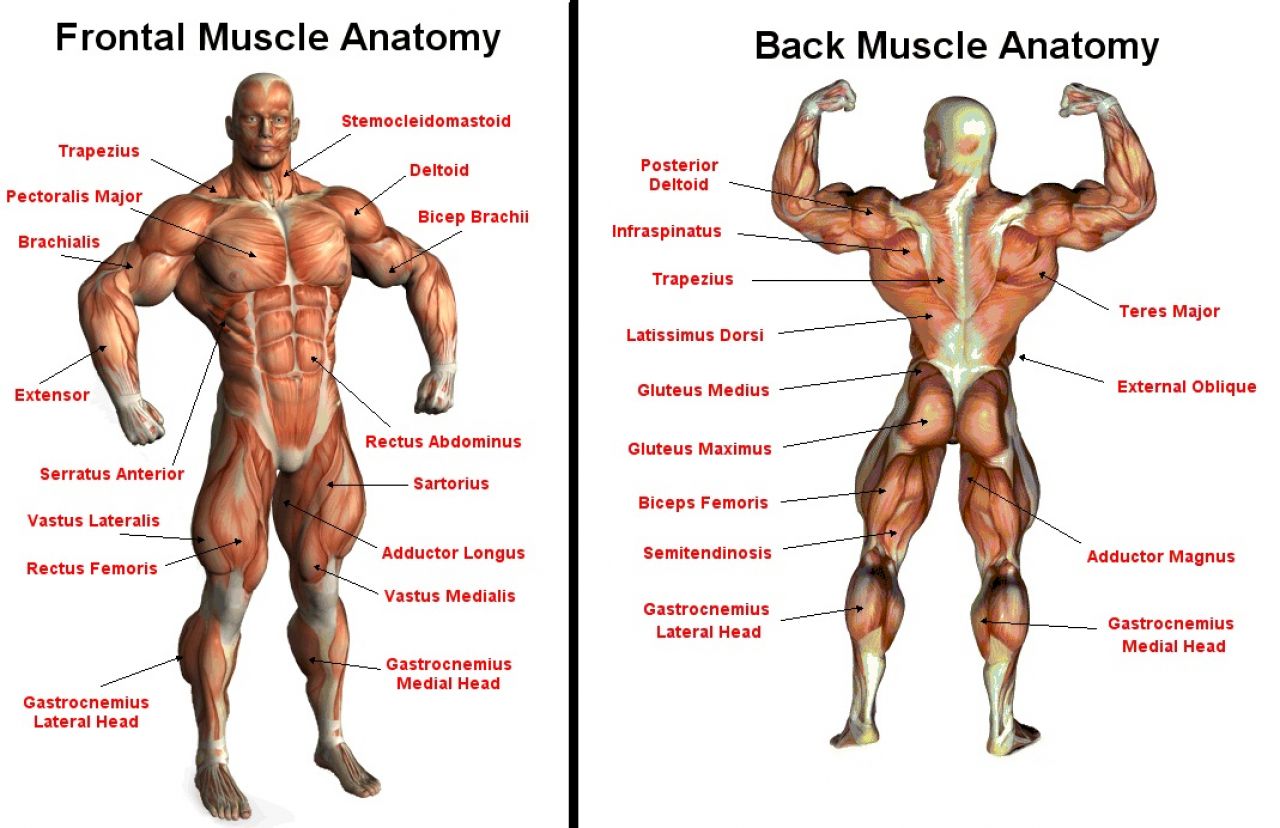
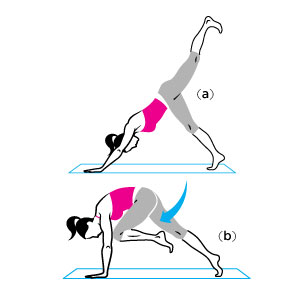
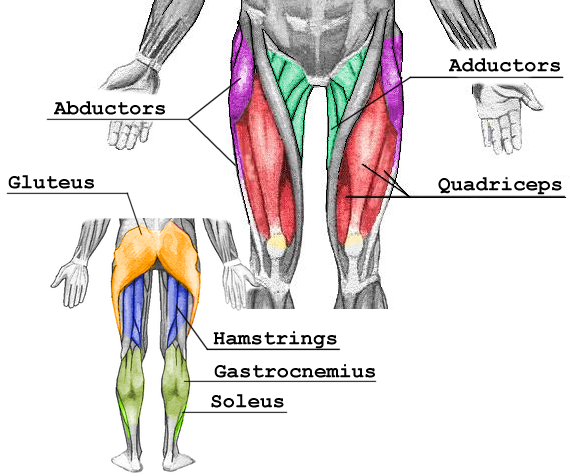
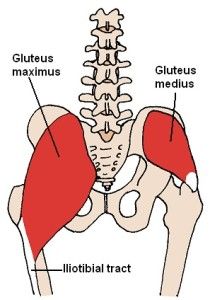 iginates at the dorsal ilium (uppermost, largest bone of the pelvis) below the iliac crest and inserts at the top outside surfaces of the greater trochanter (top of the thigh bone).
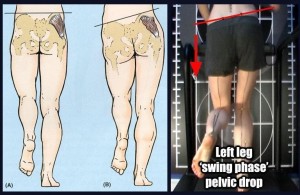


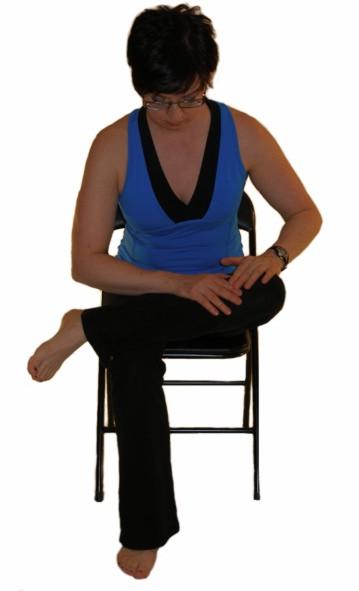
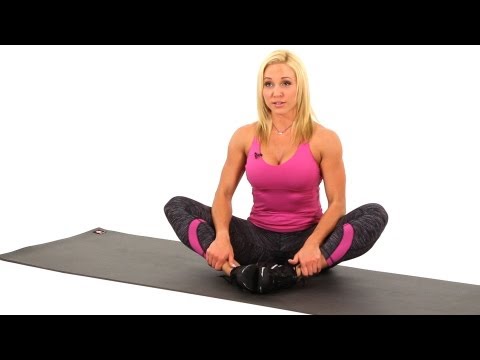


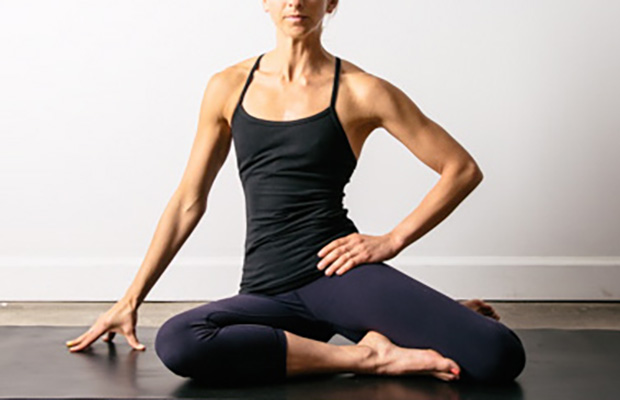
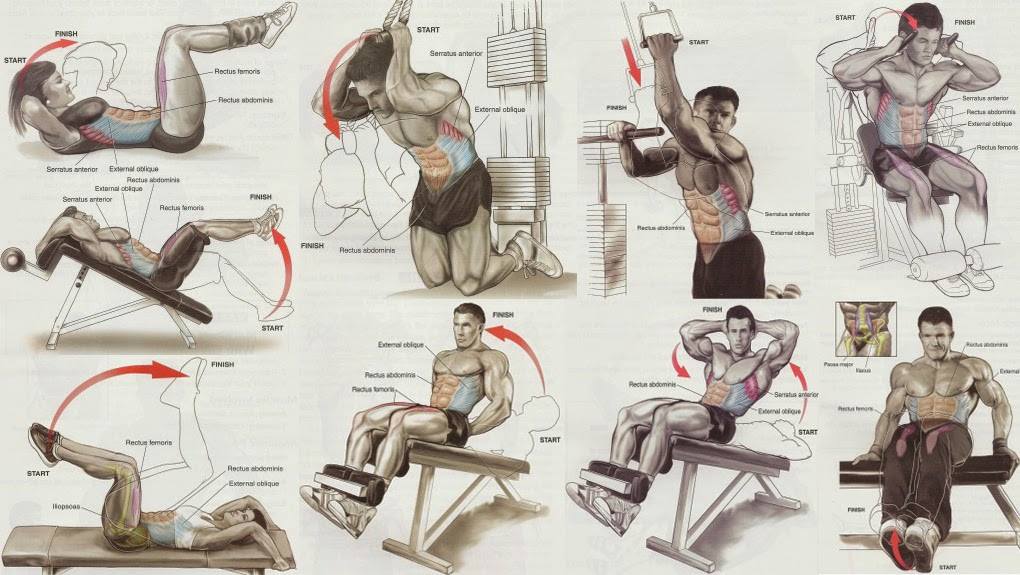
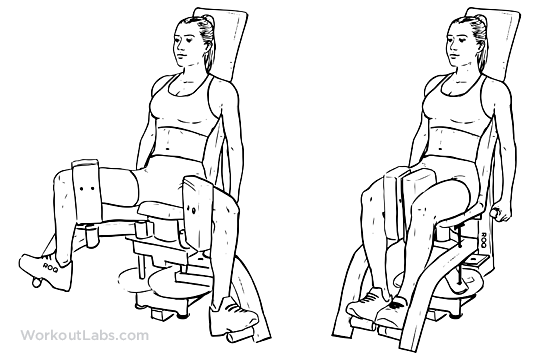
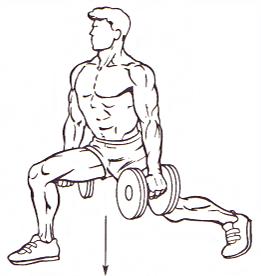
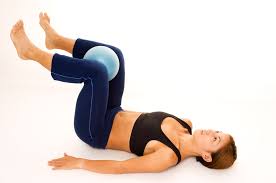
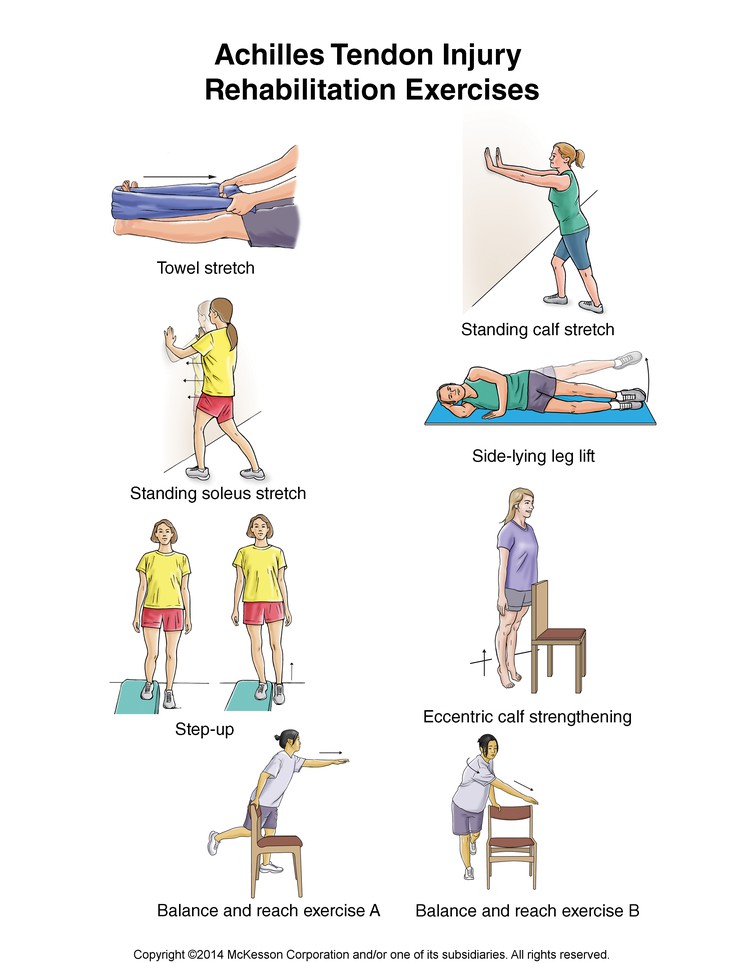
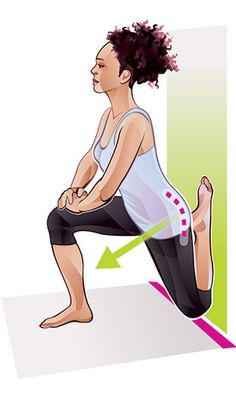
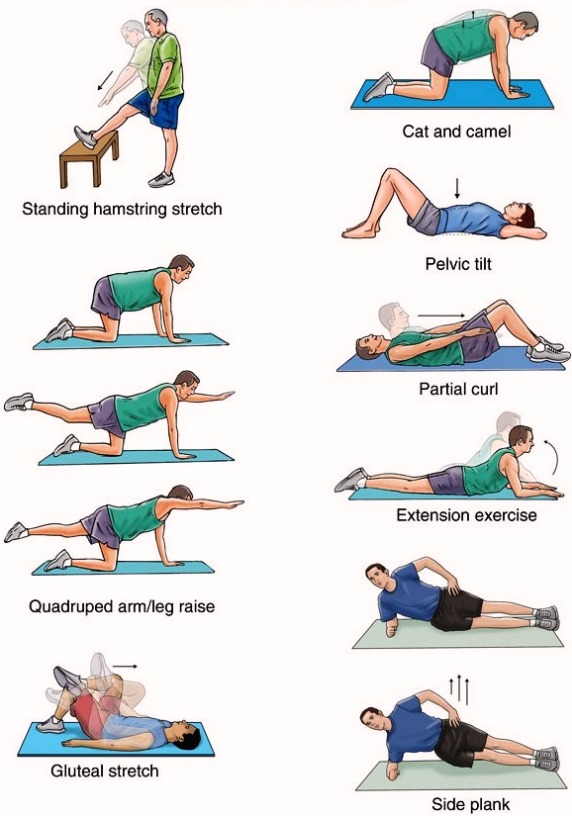
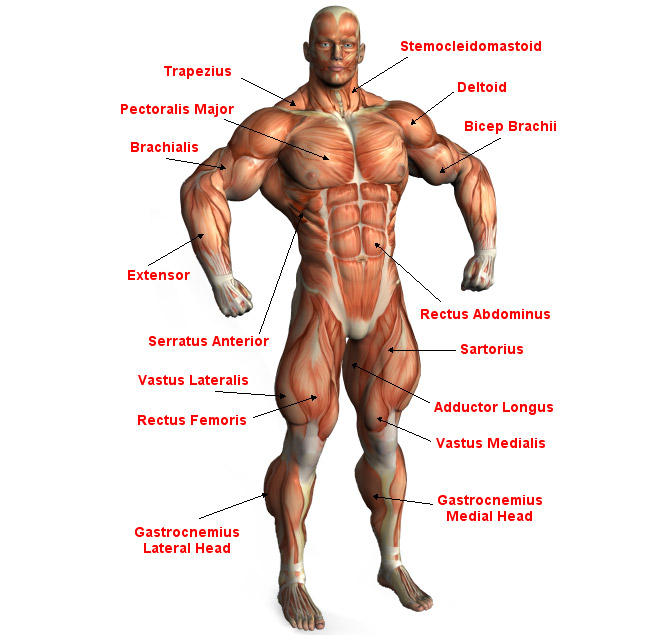
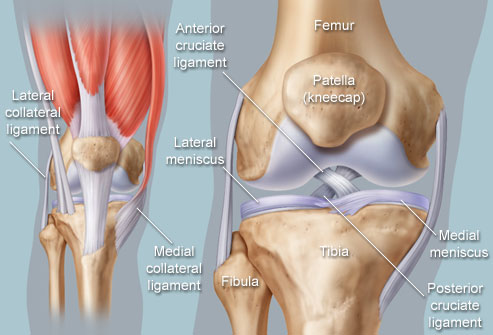
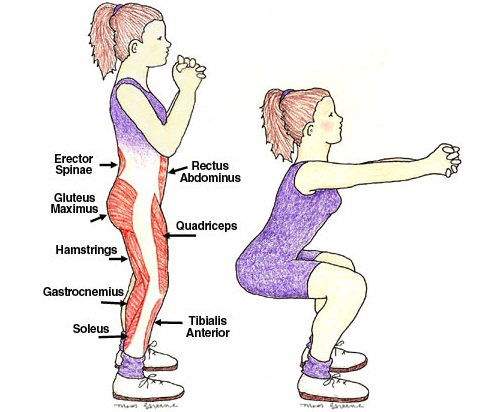
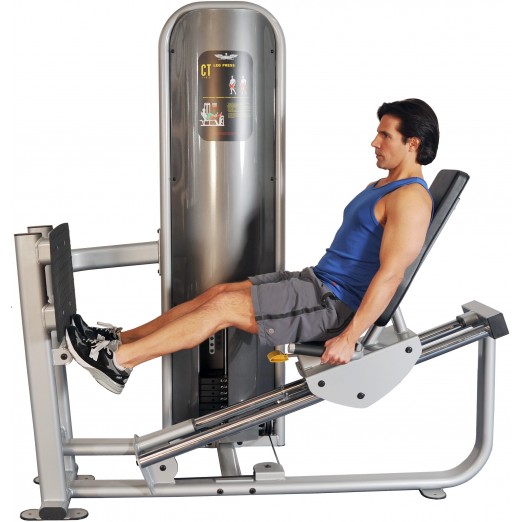
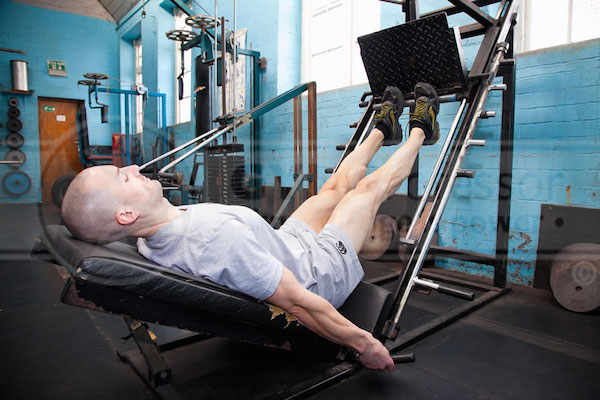
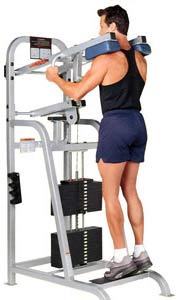
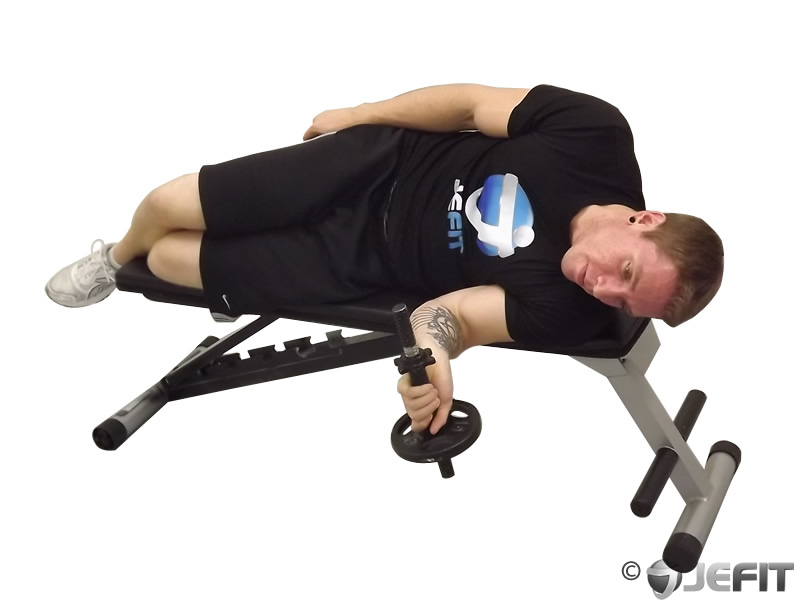
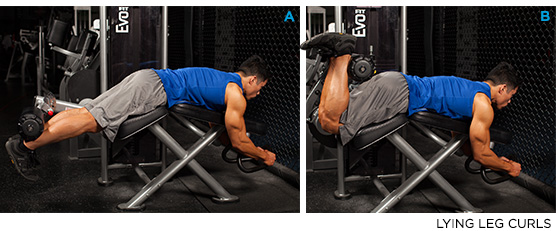
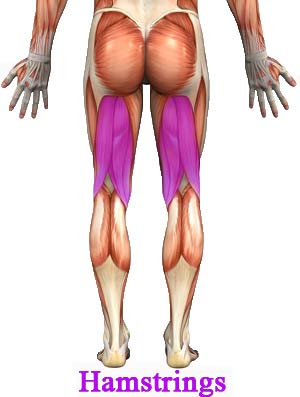
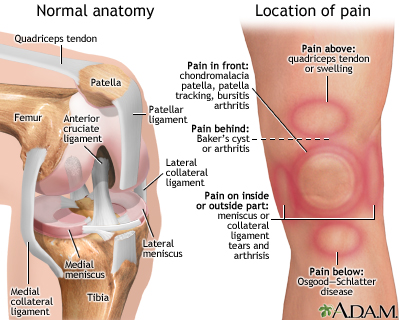
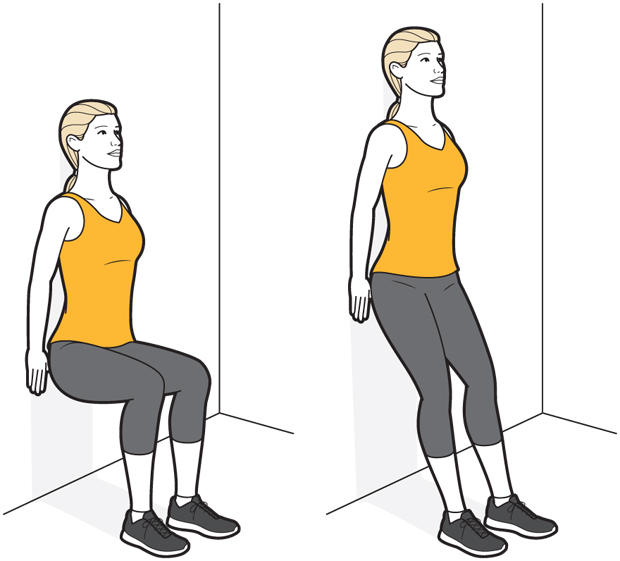
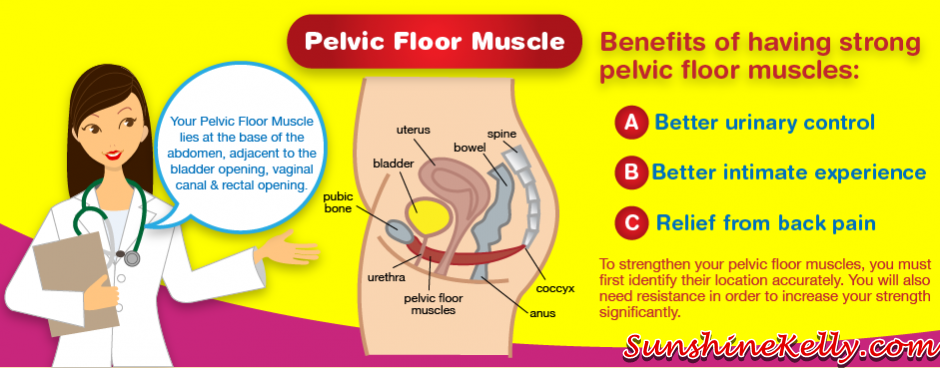
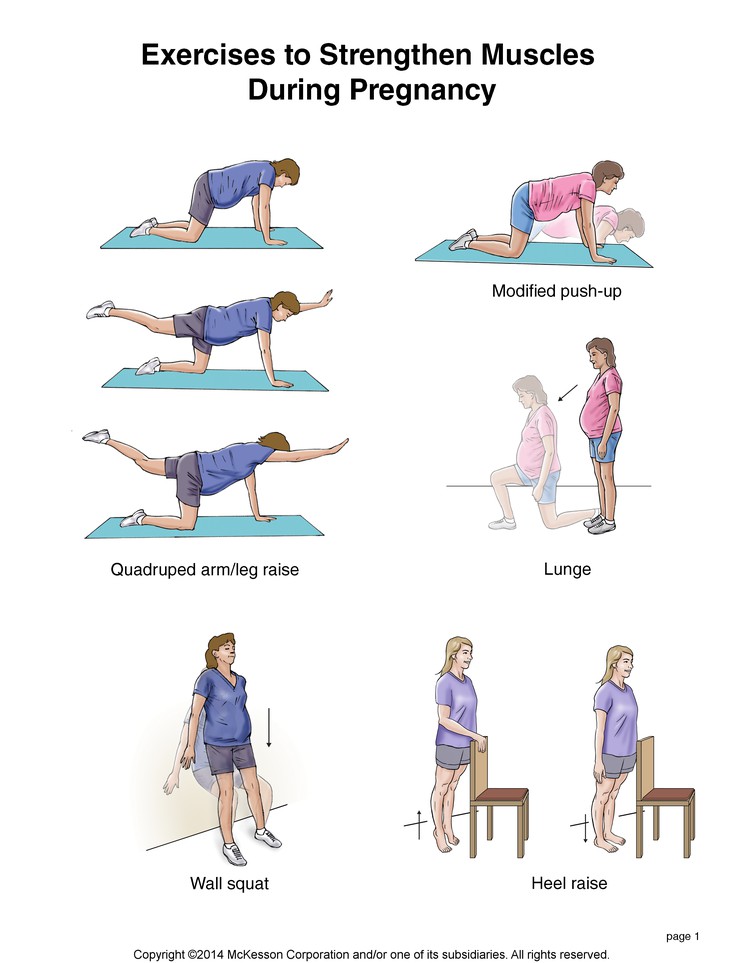
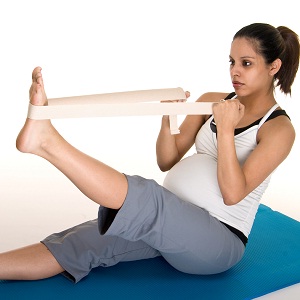
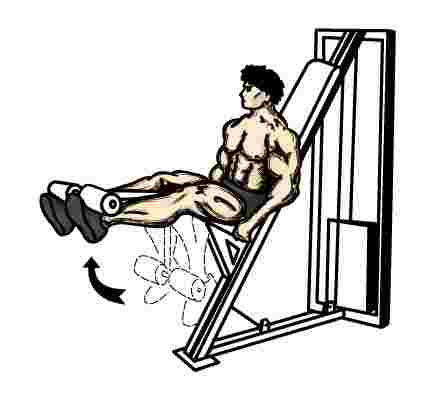
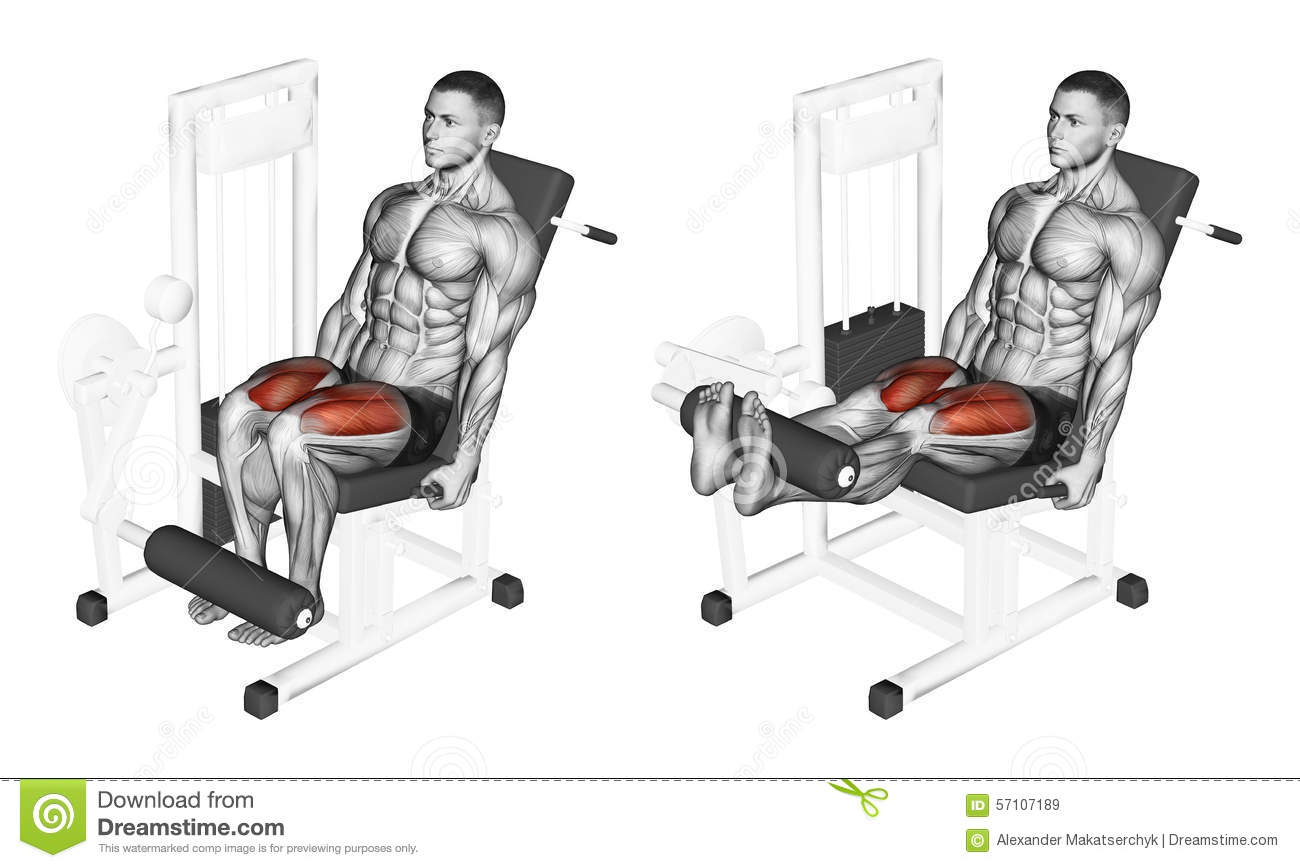
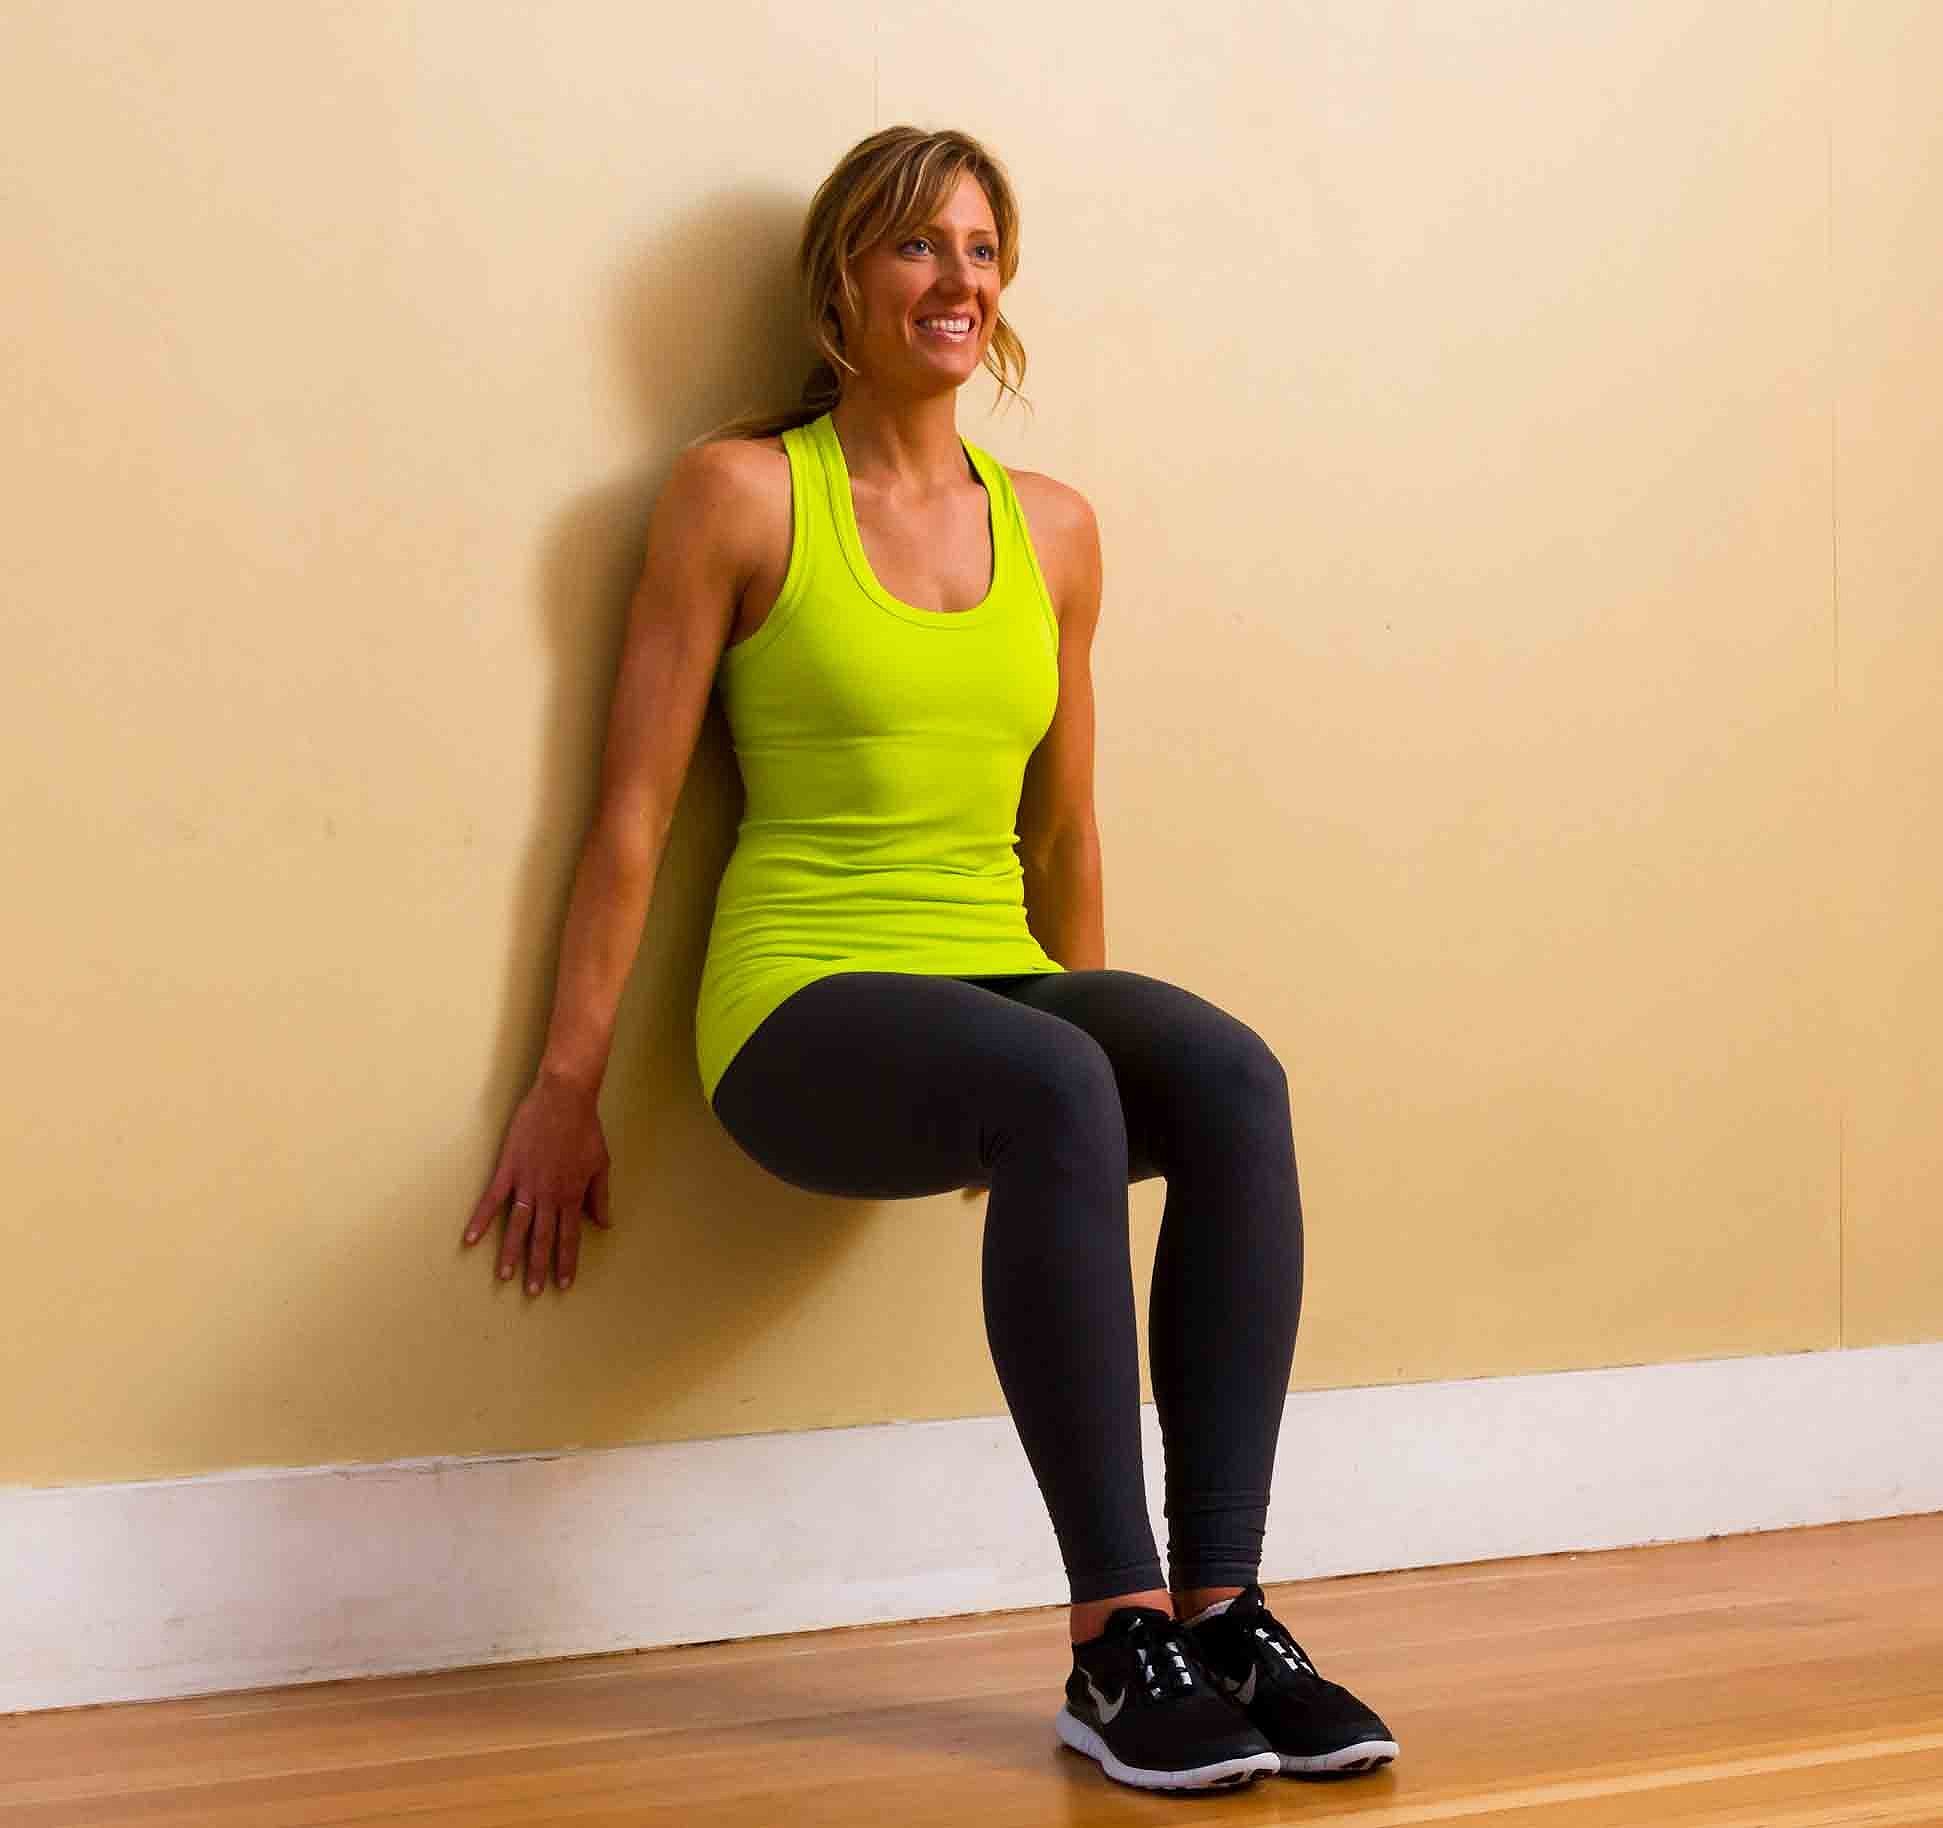
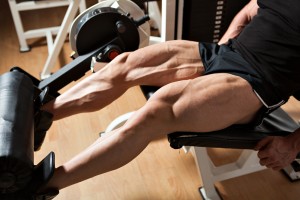
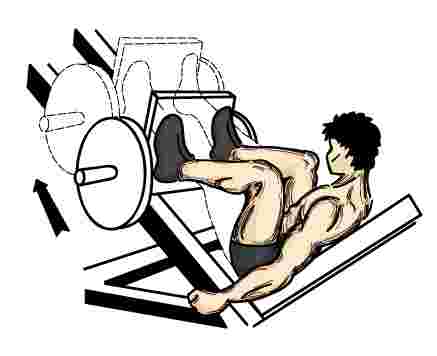
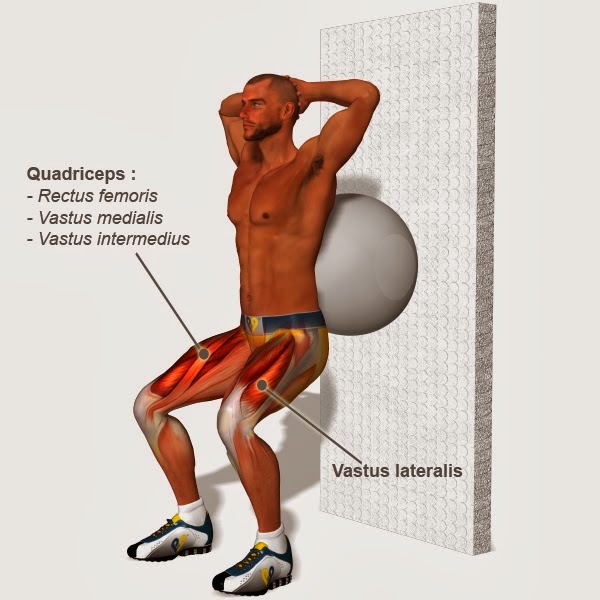
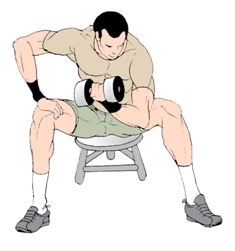
 The quadriceps (”four heads”) is the main muscle controlling the knee. For normal knee function it is essential that the quadriceps muscles remain strong and well co-ordinated. The stability of the knee largely depends on this muscle.
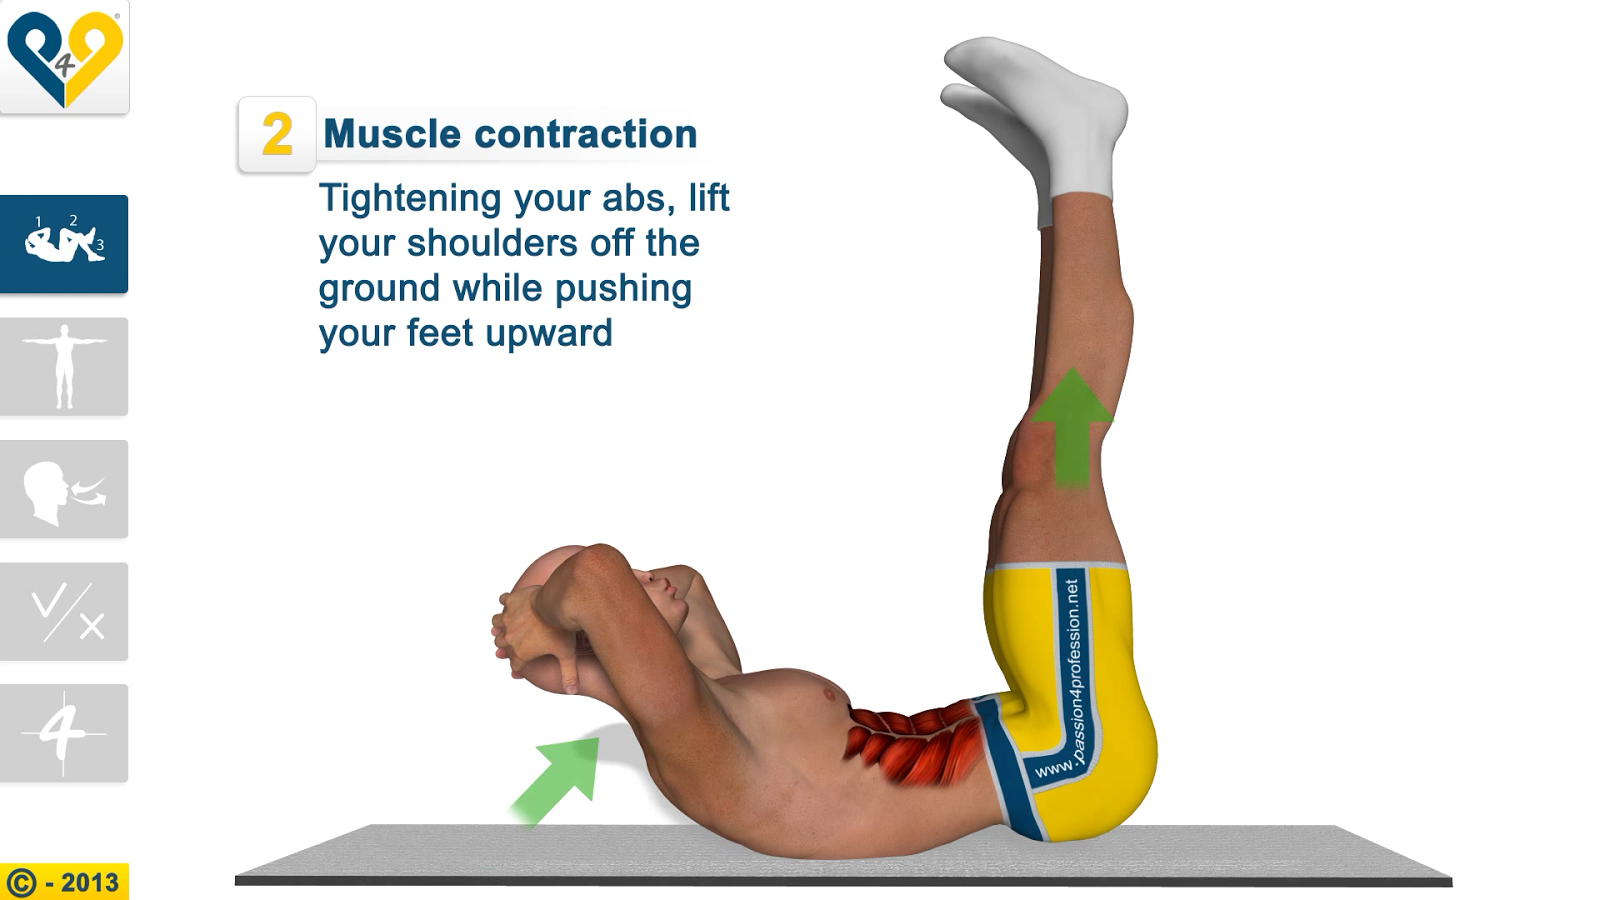
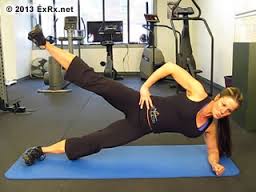
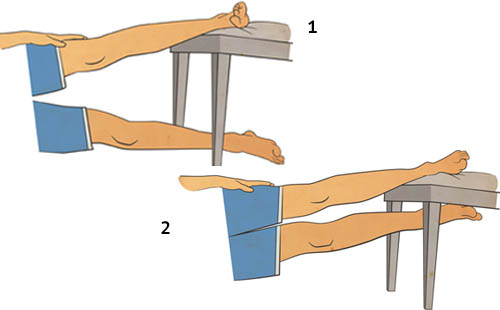
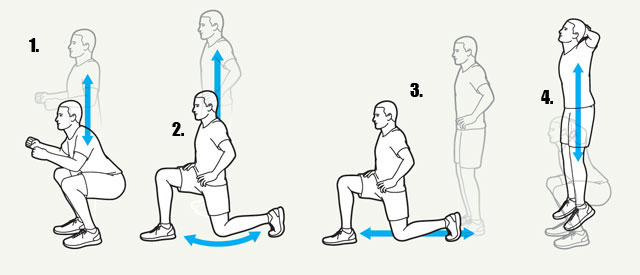
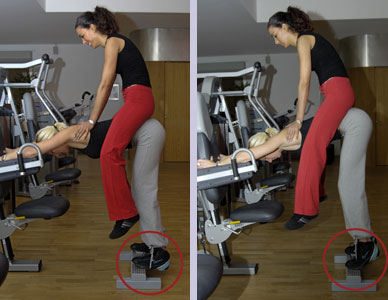
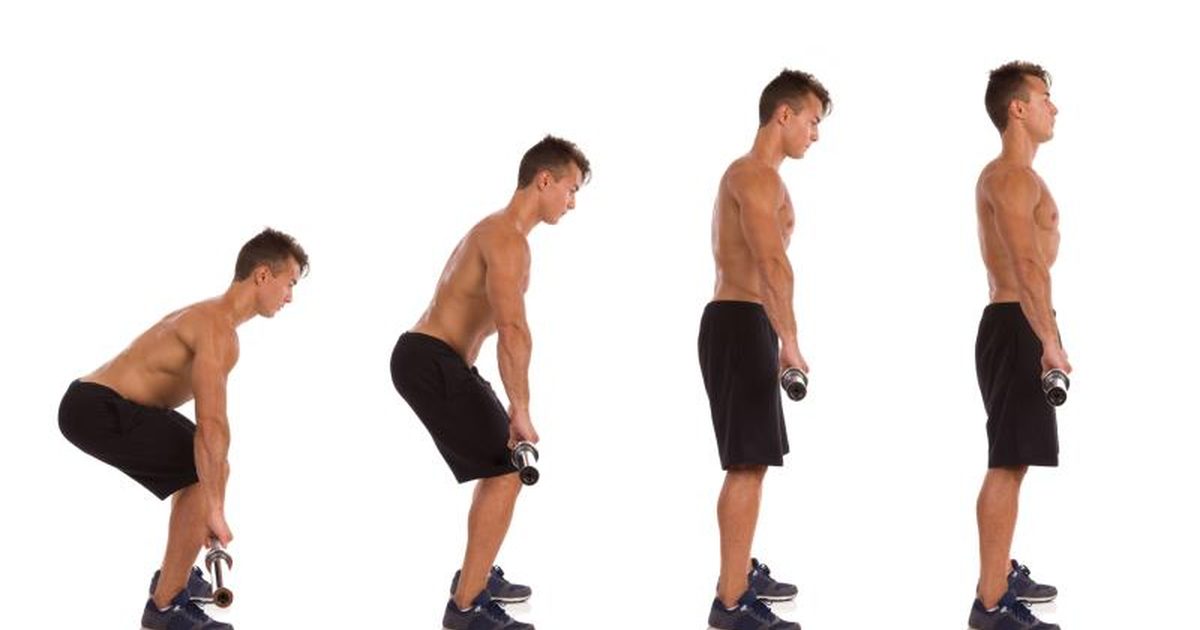
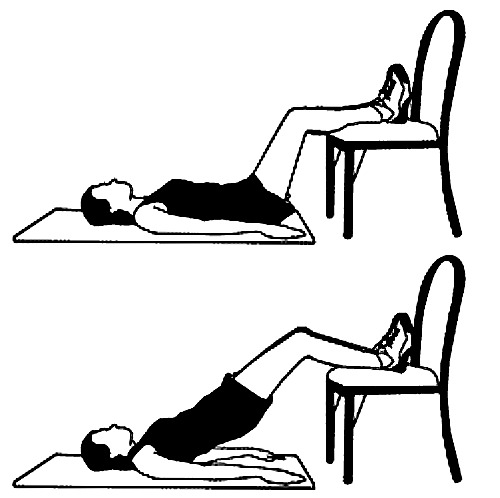
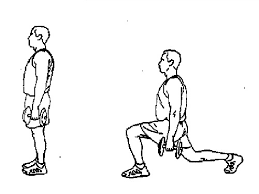
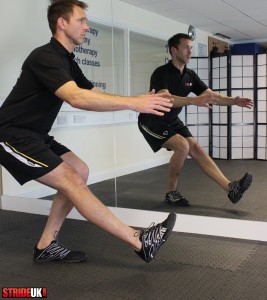
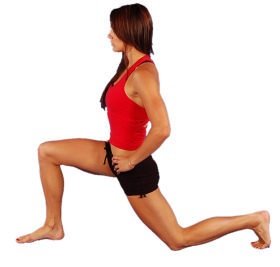
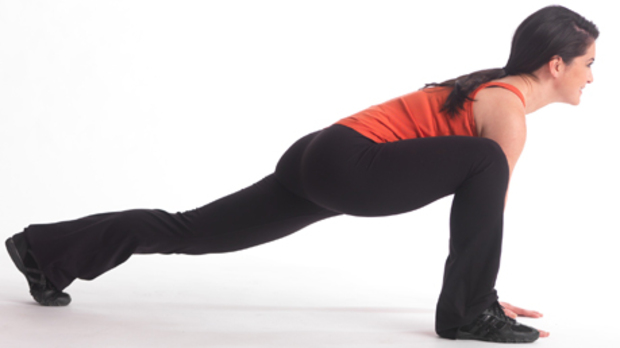
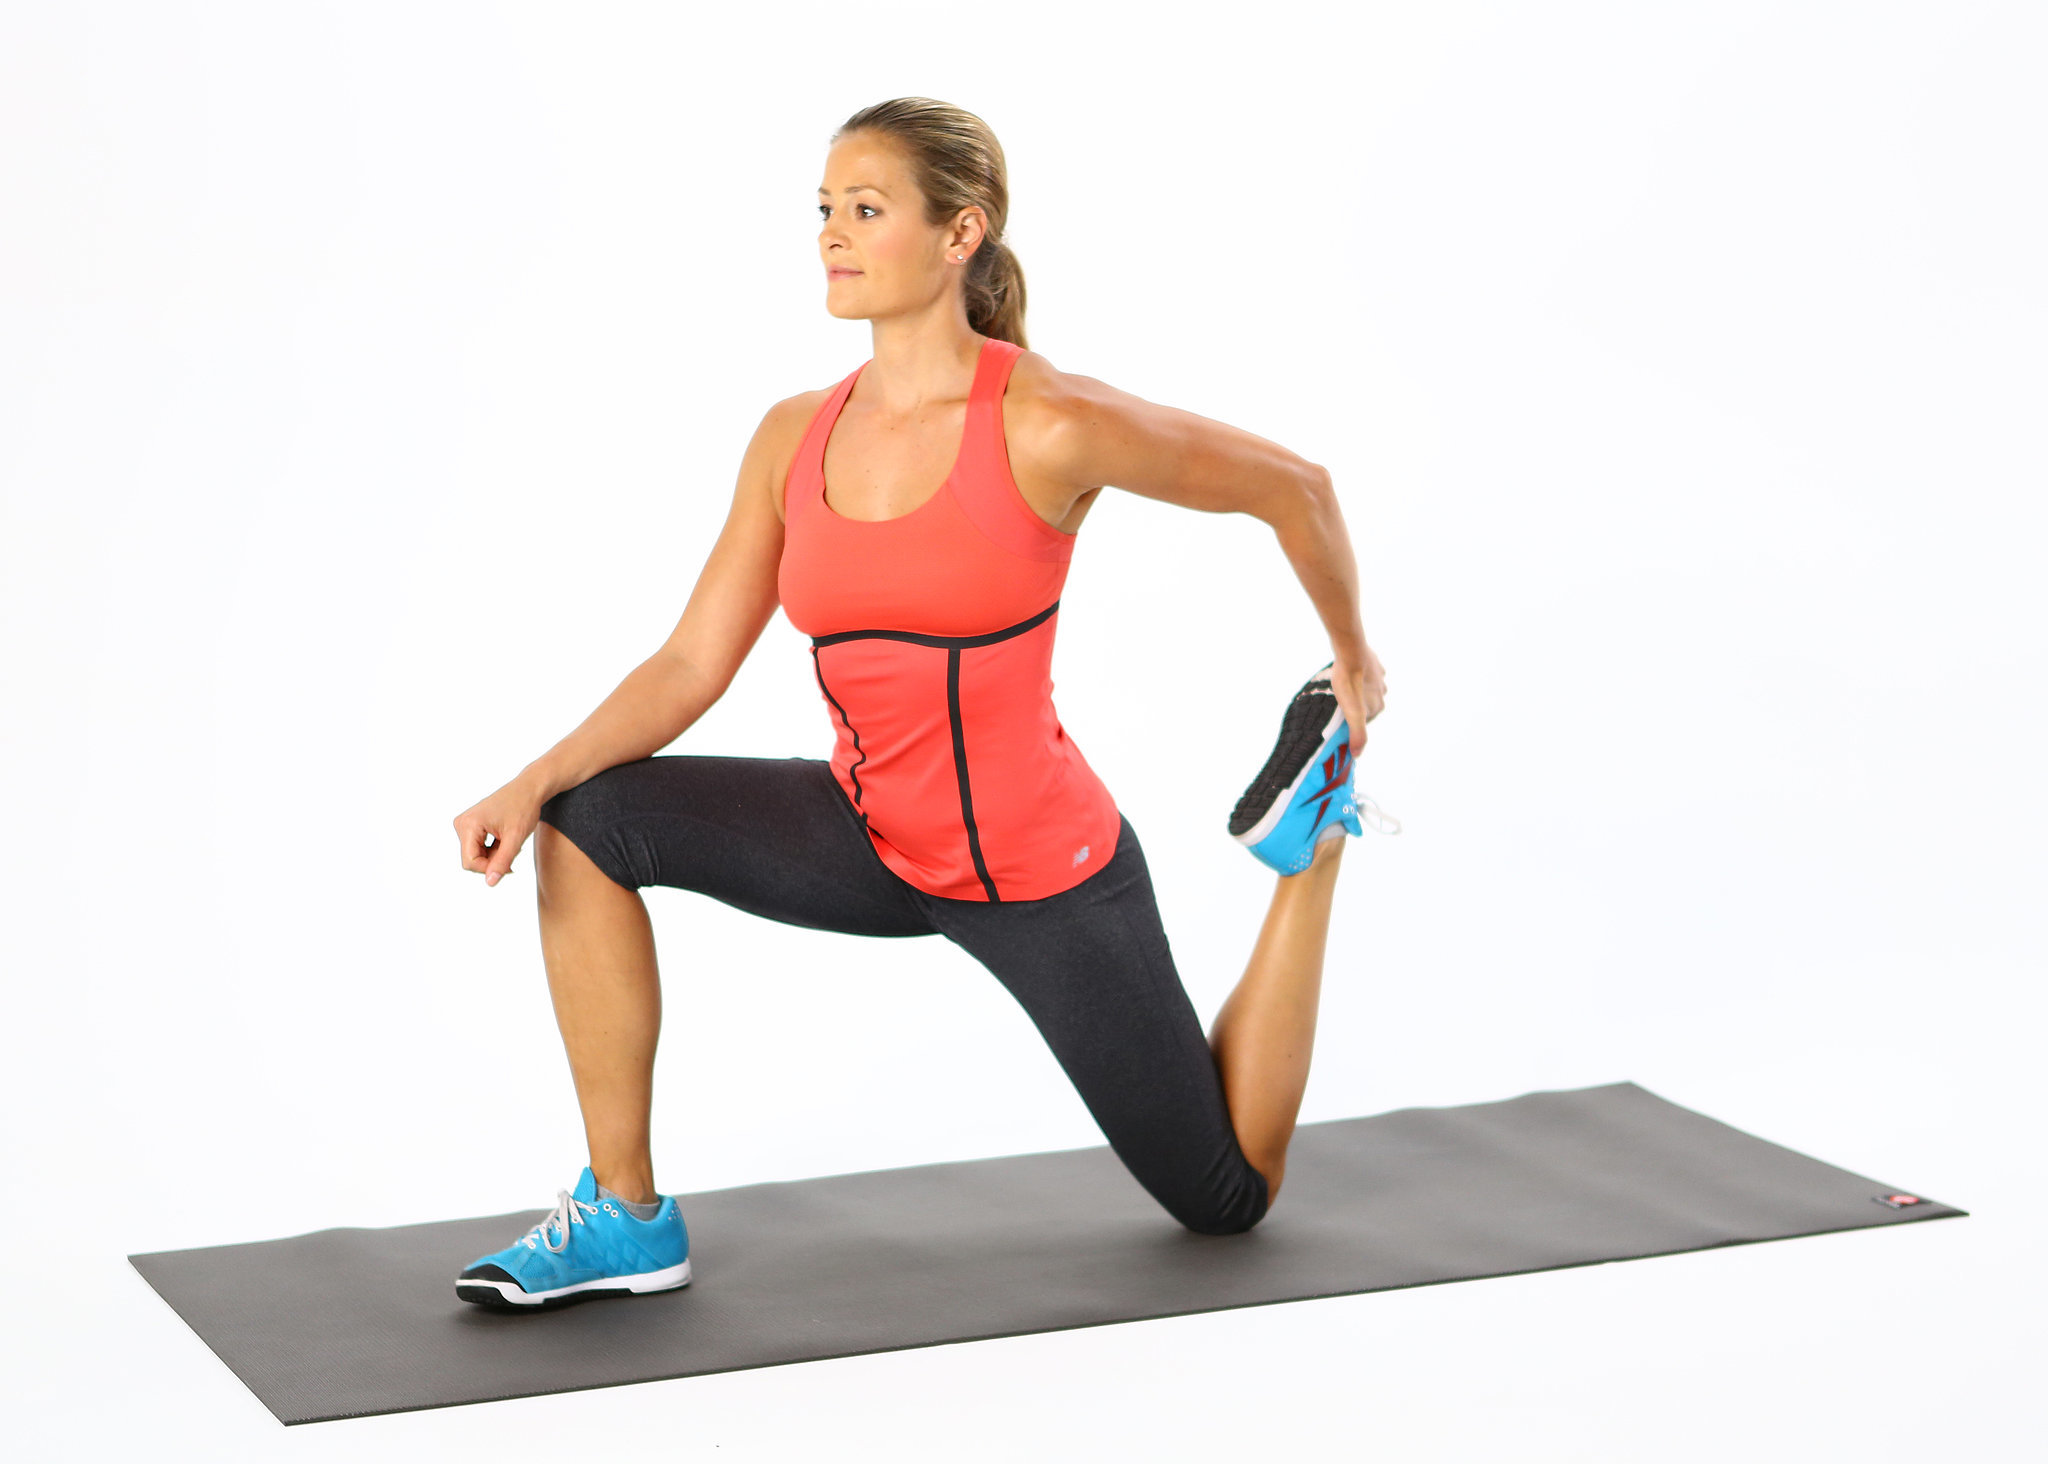
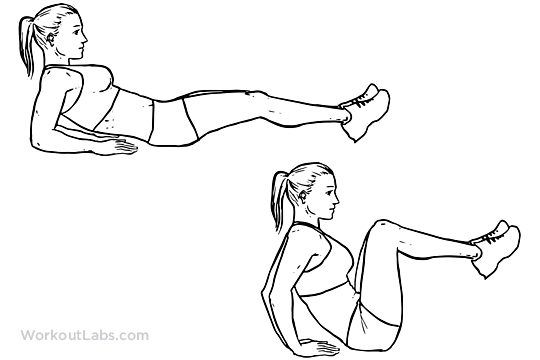
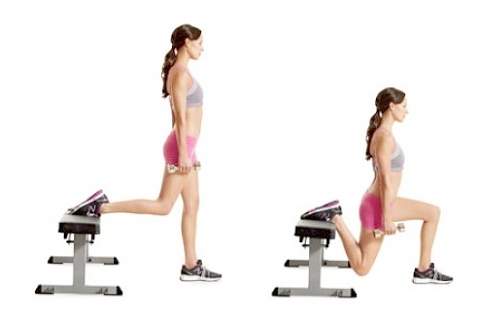
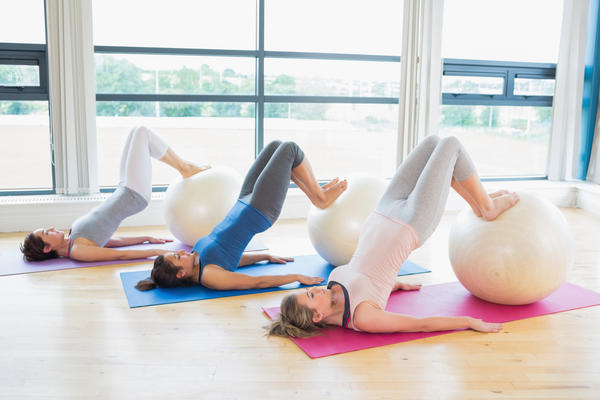
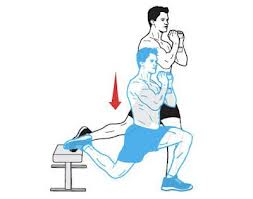
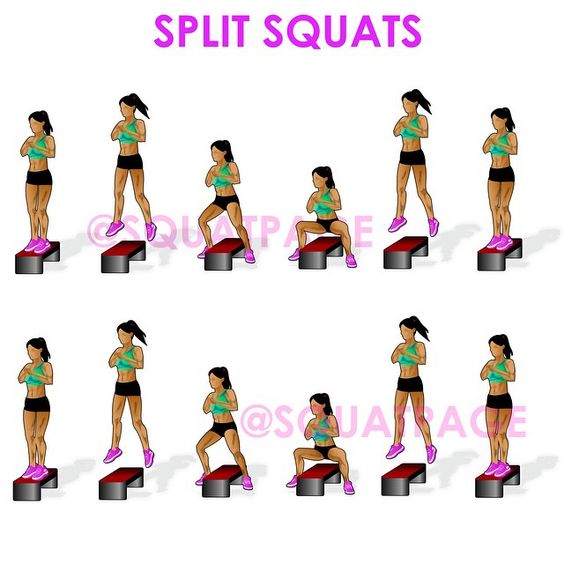
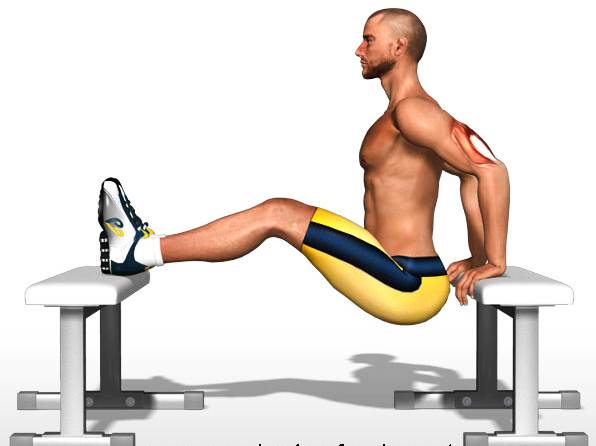
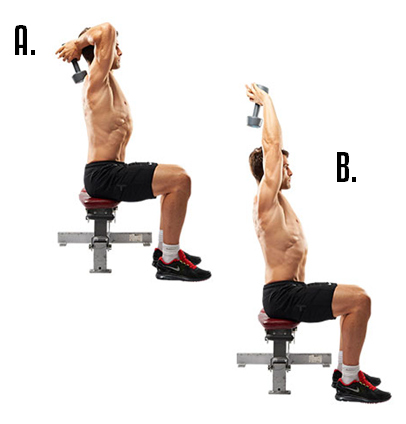
 I like this exercise, I think it’s one of the best for activating the quadriceps muscles. When you do this exercise, the correct muscles have got to be working.
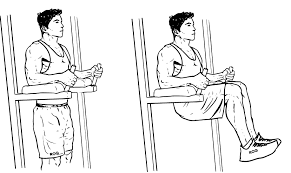
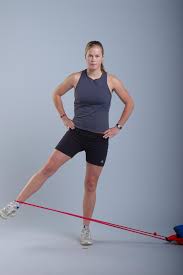
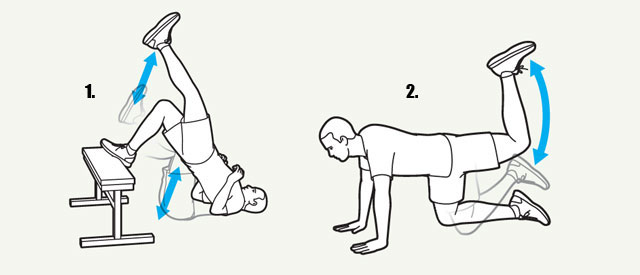
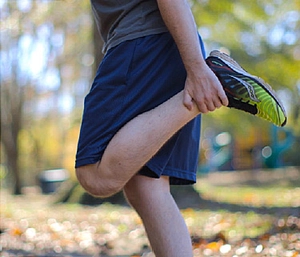
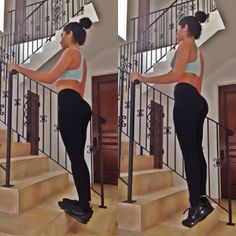
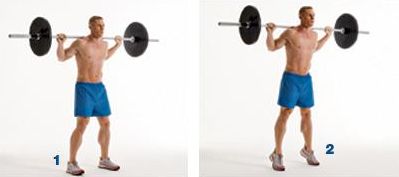
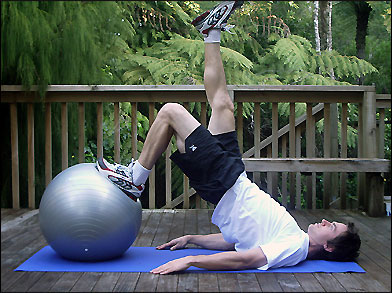
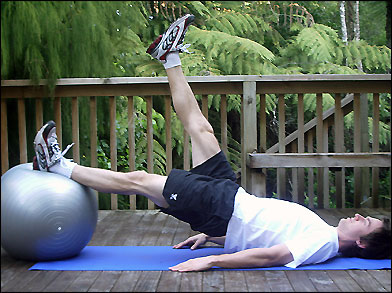
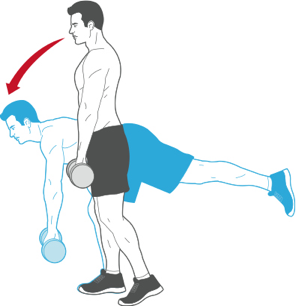
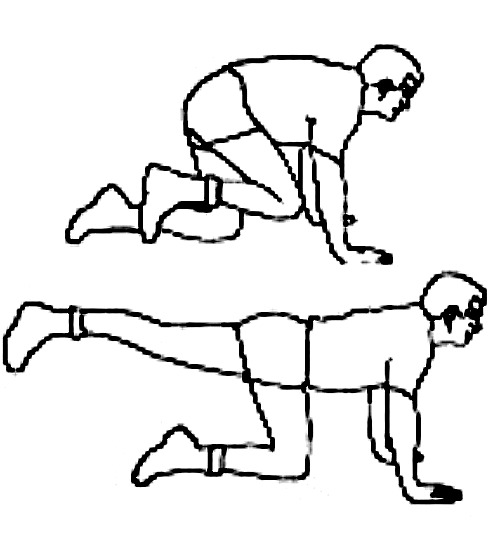
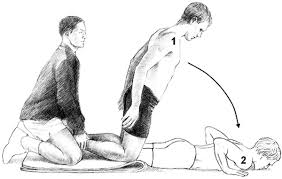
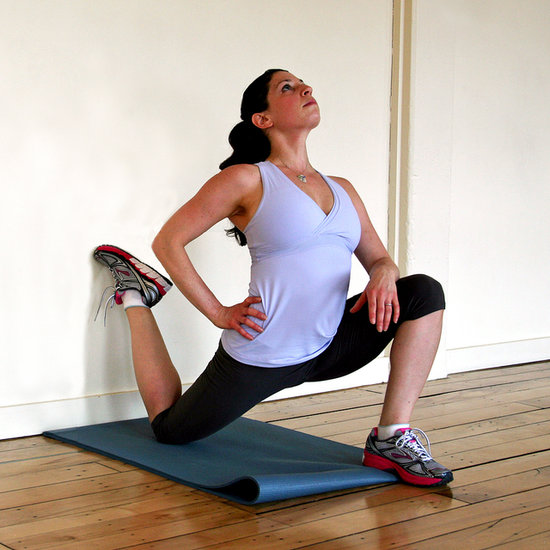
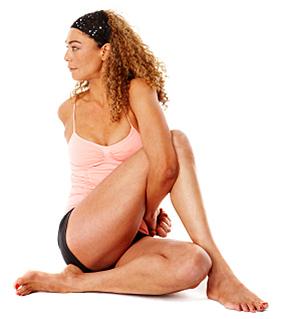
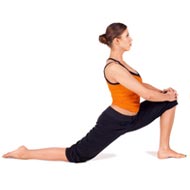
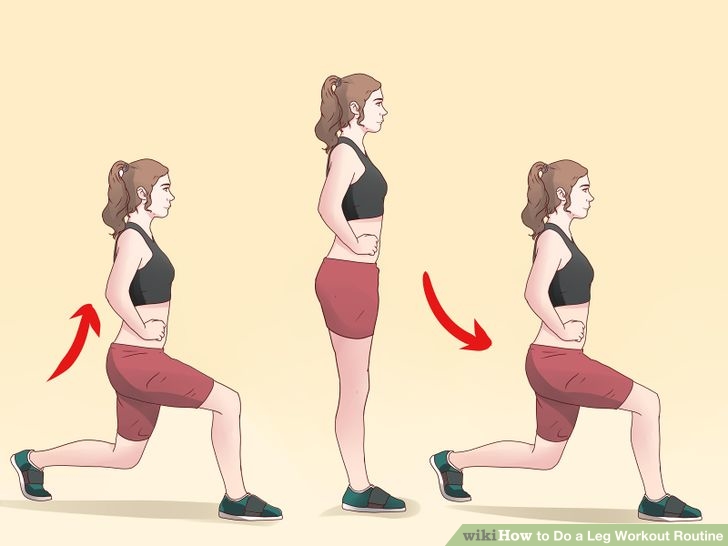
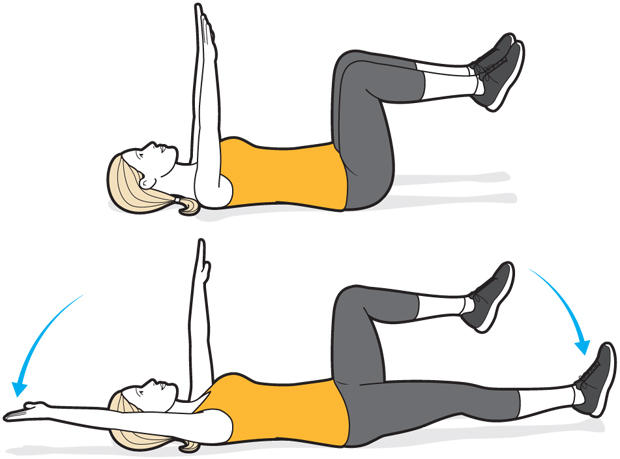
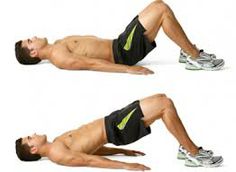
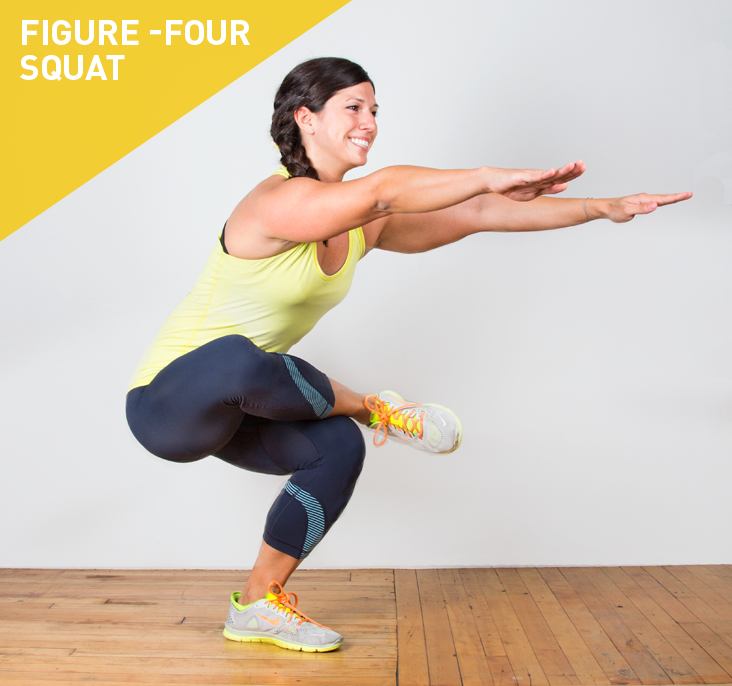
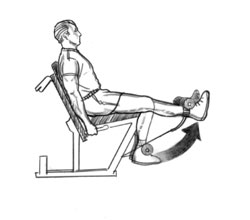
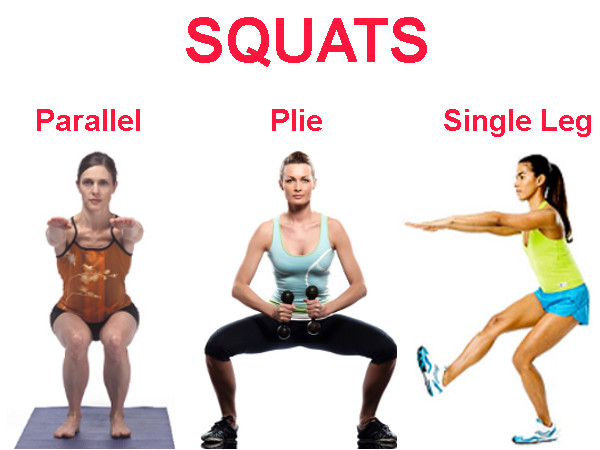
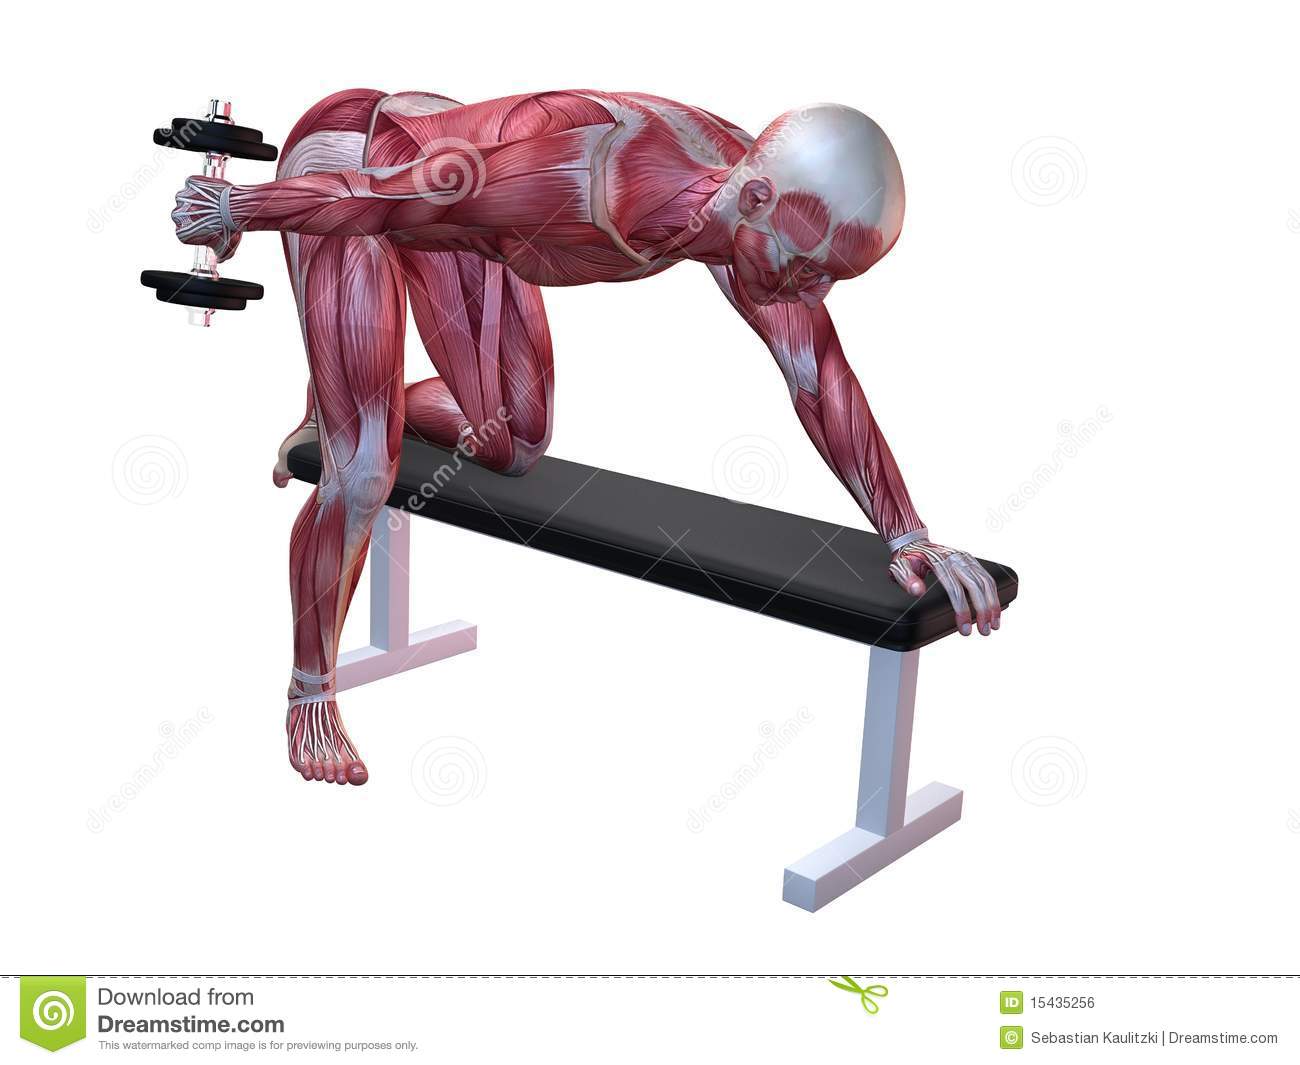
 I’m not terribly fond of this exercise, as it stresses the hip and its muscles a lot, but it can be useful.
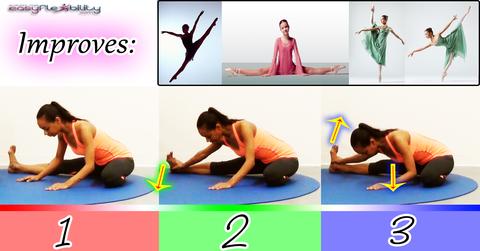
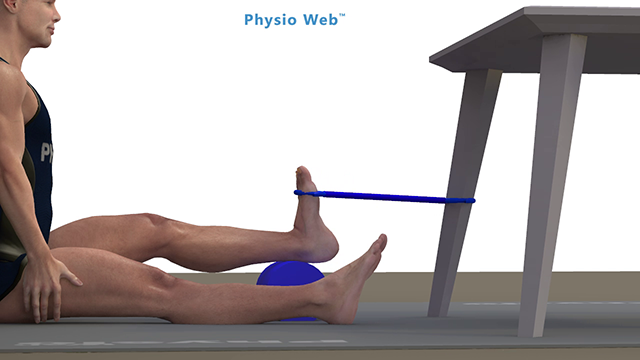
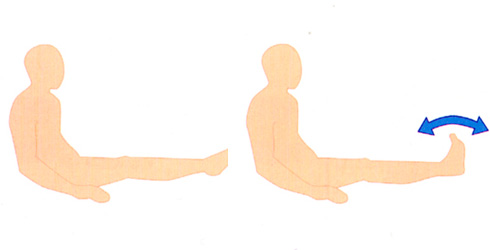
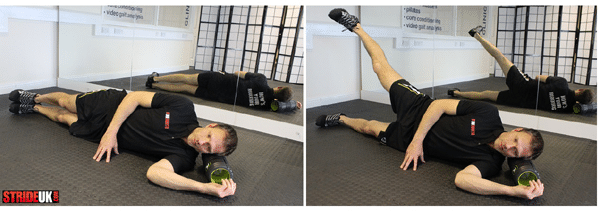
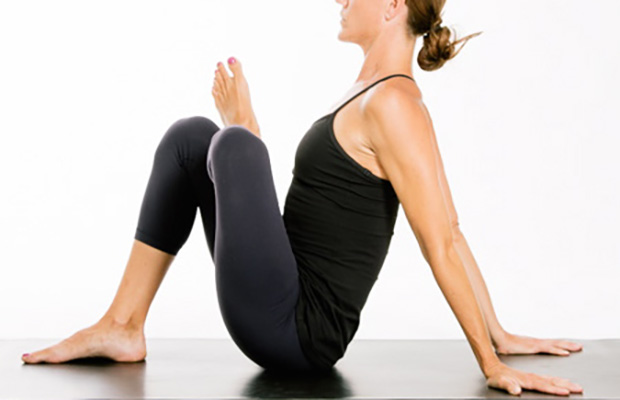
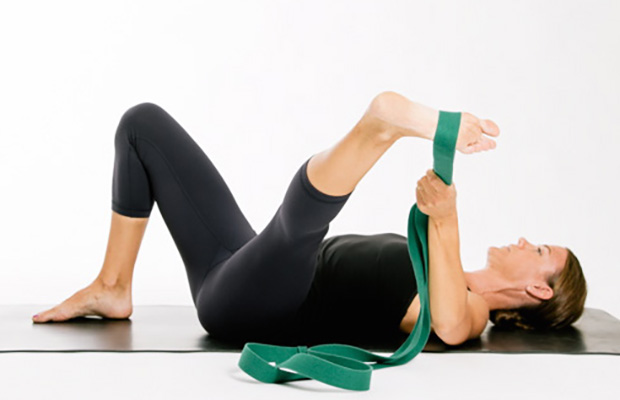
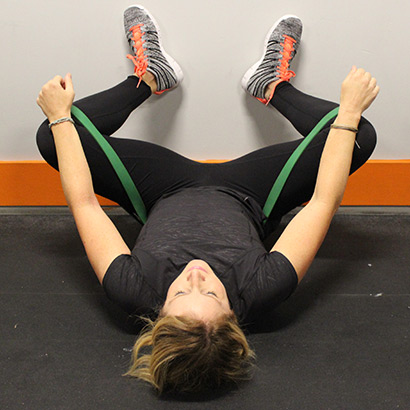
 Knee bending is important for normal life. We need 70 degrees for normal walking and 110 degrees to go up and down stairs. It’s more common in knee problems to have problems with straightening the knee, but knee bending is worth practising.
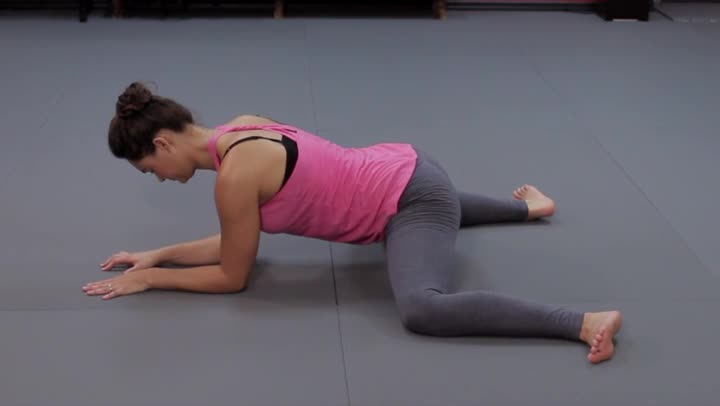
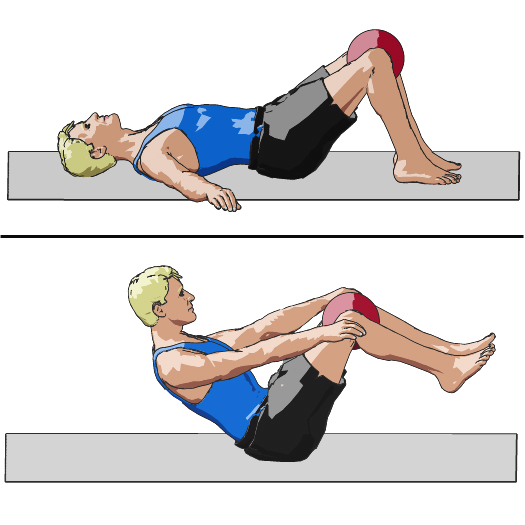
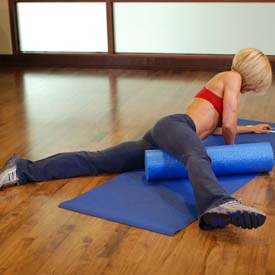
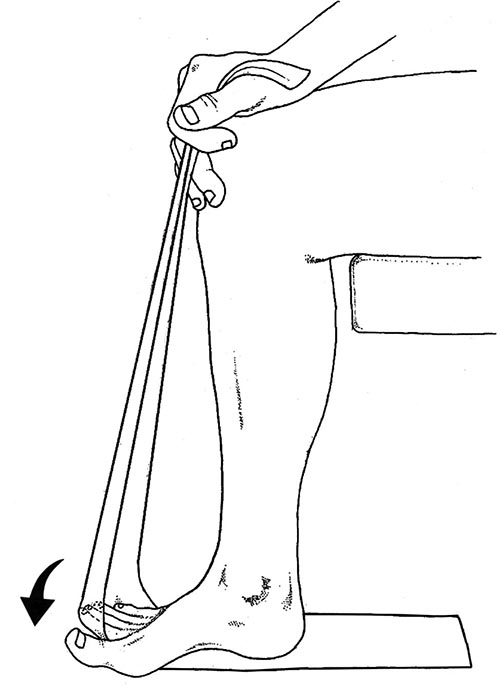
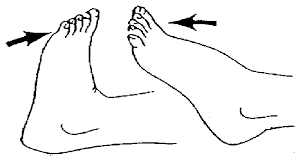
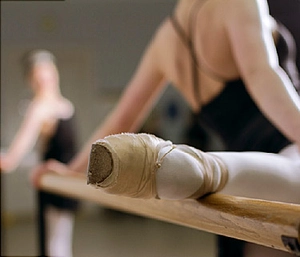
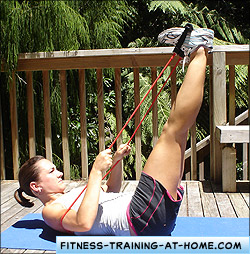
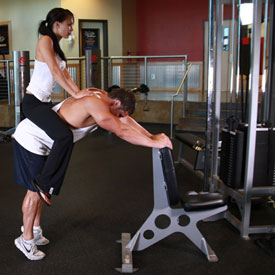
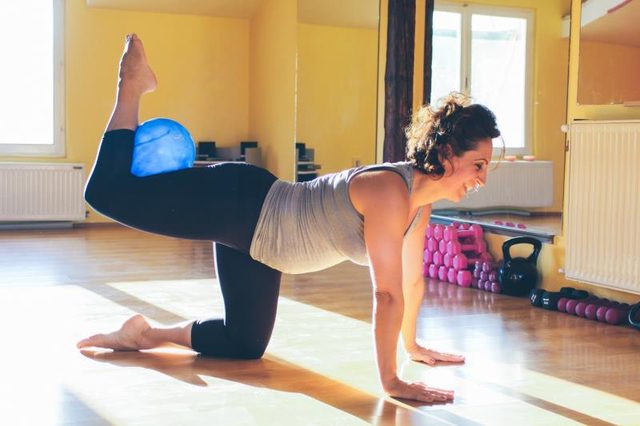
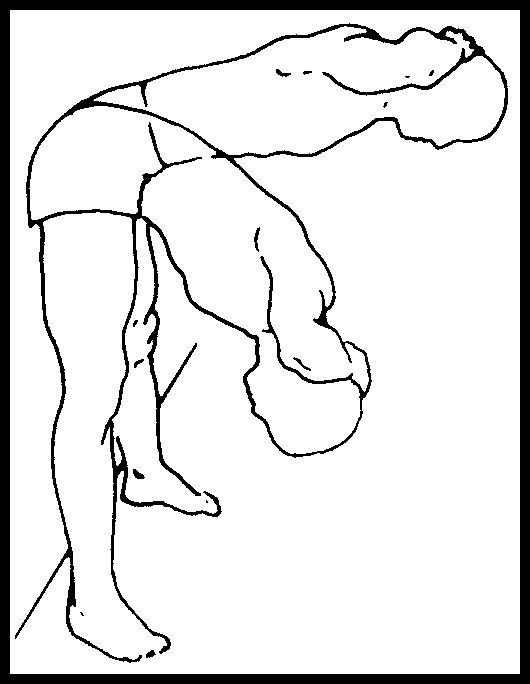
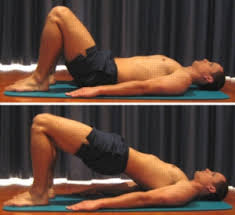
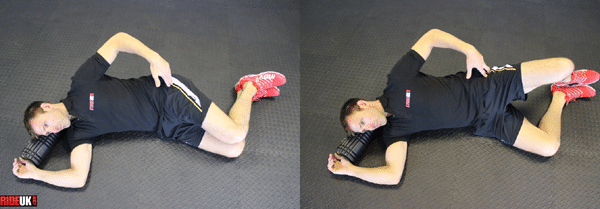
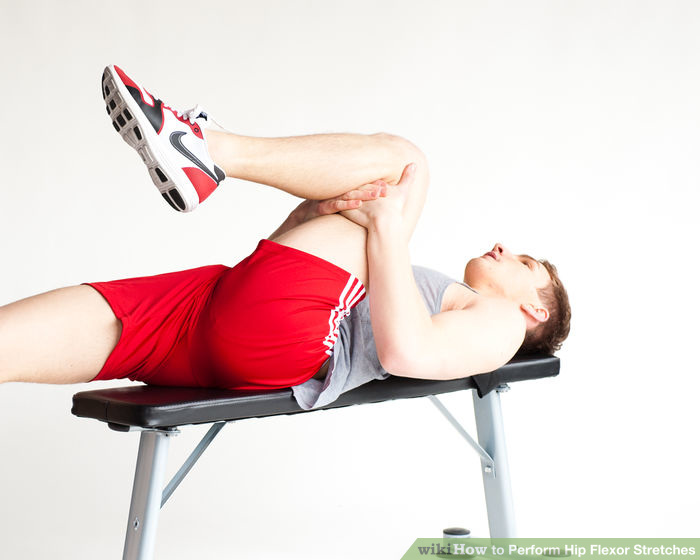
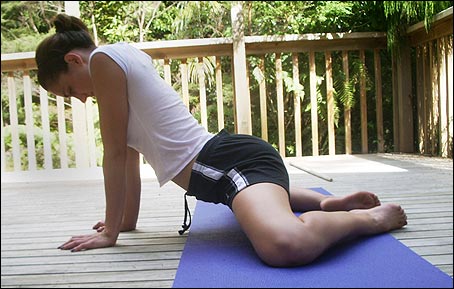
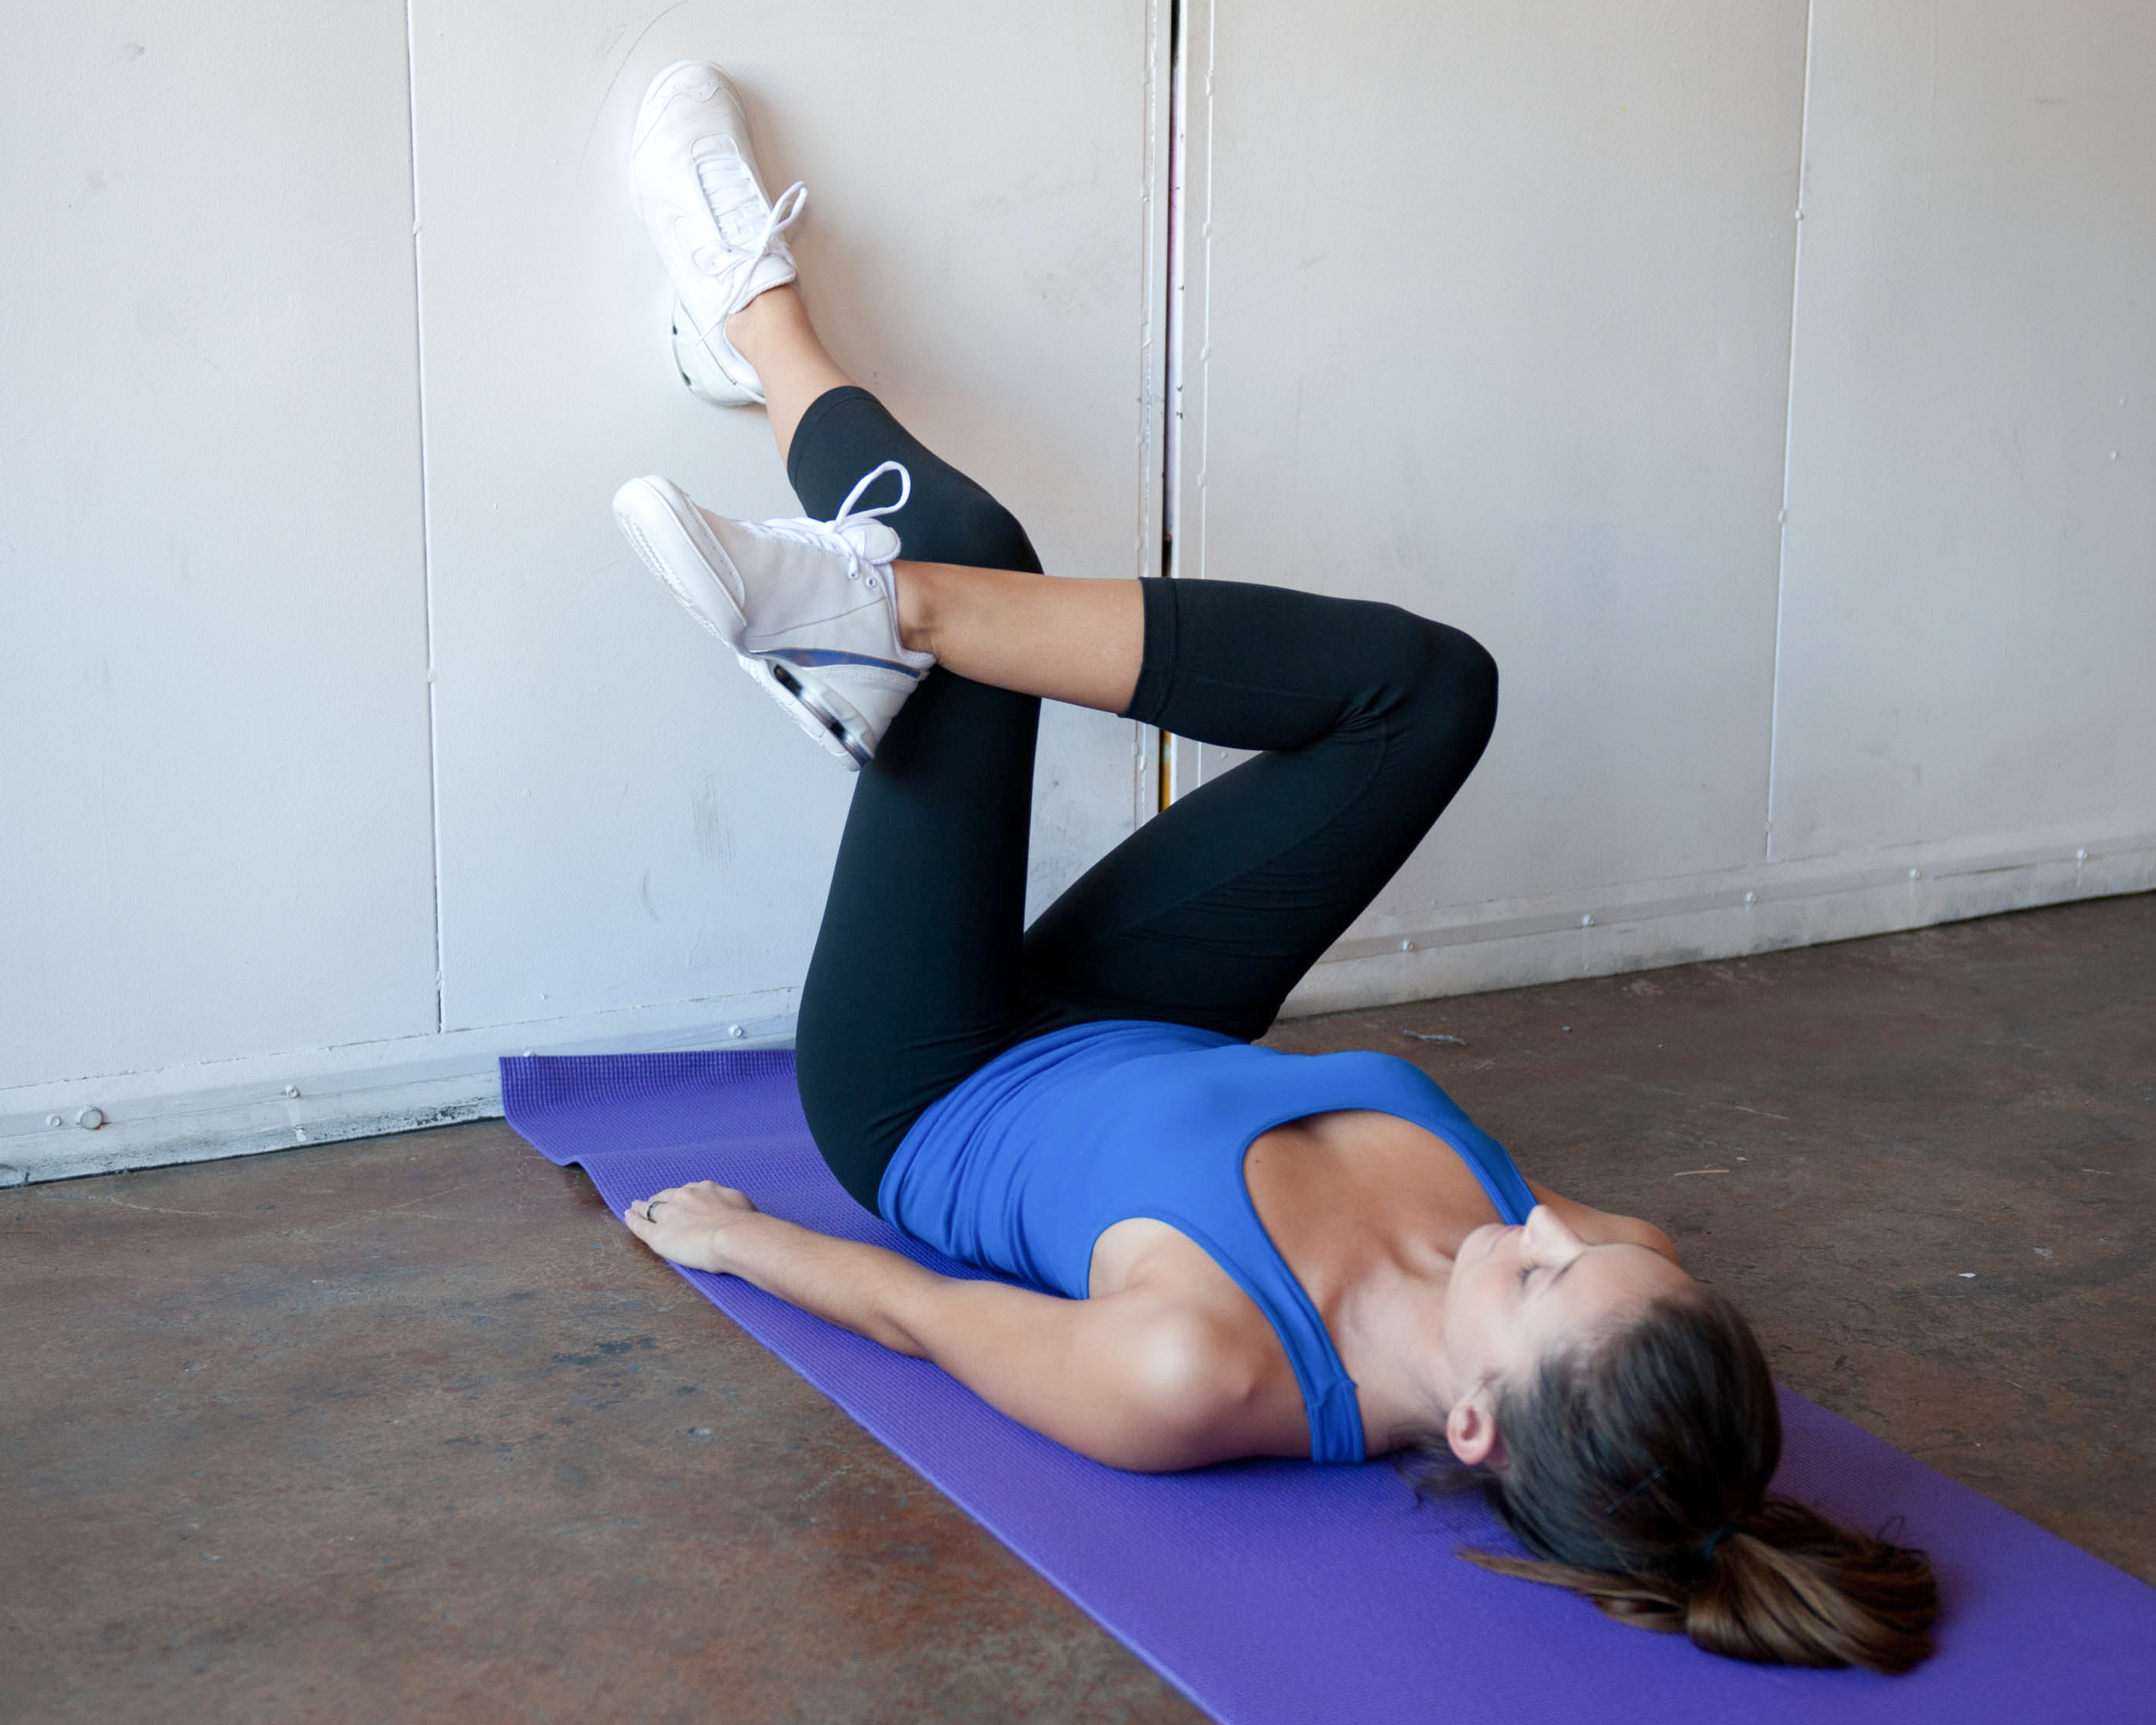
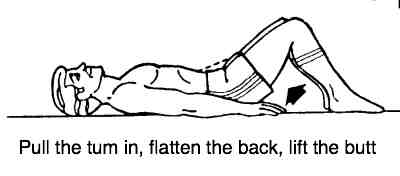
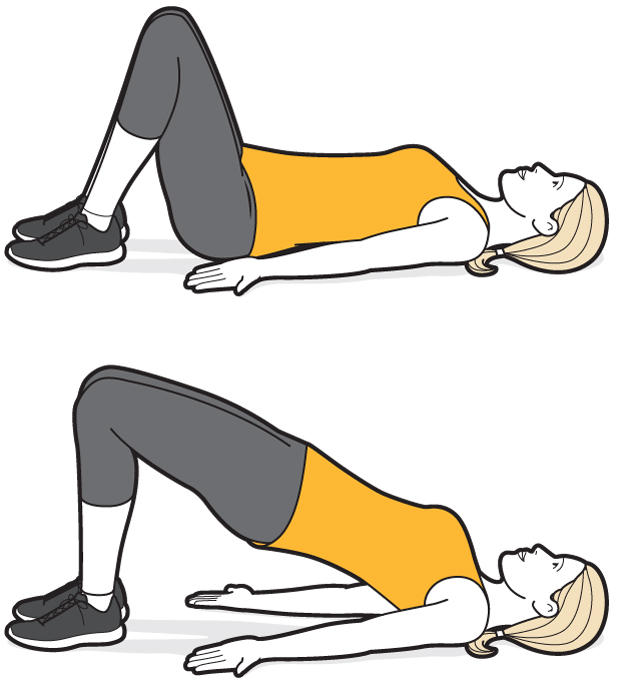
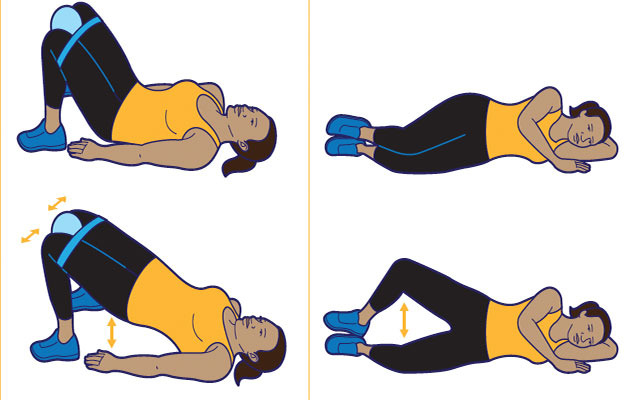
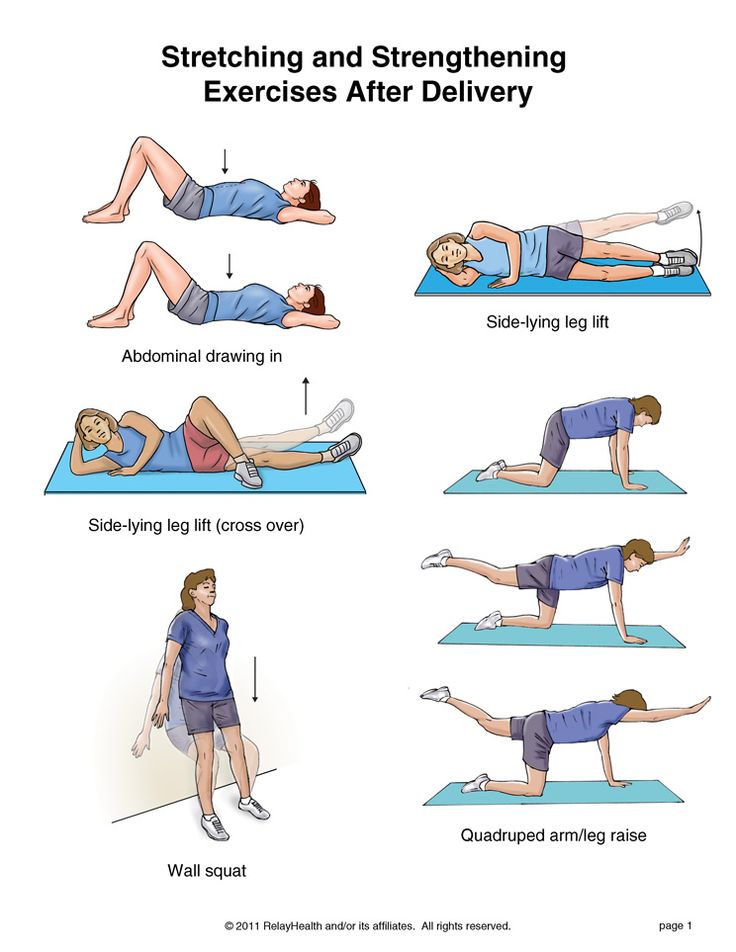
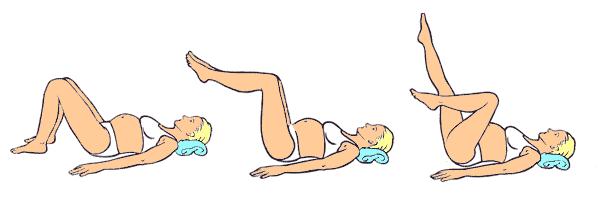
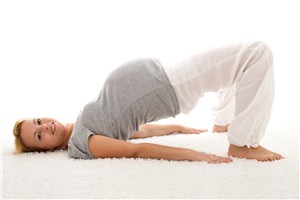
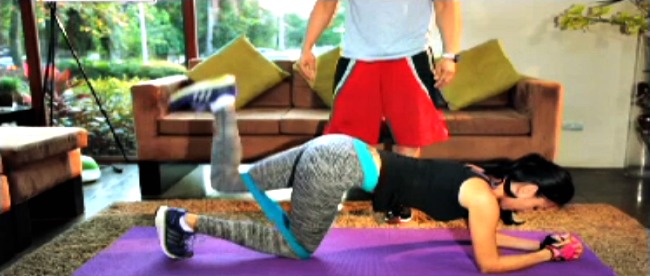
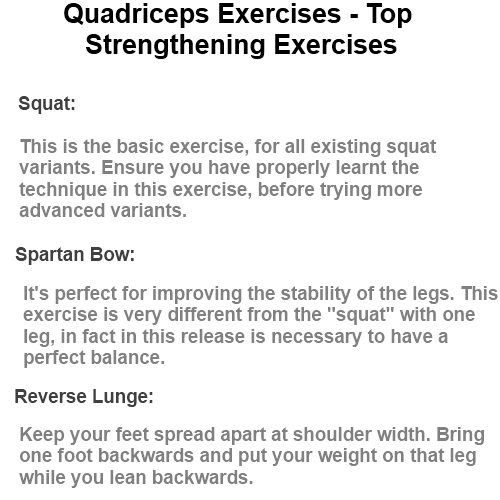
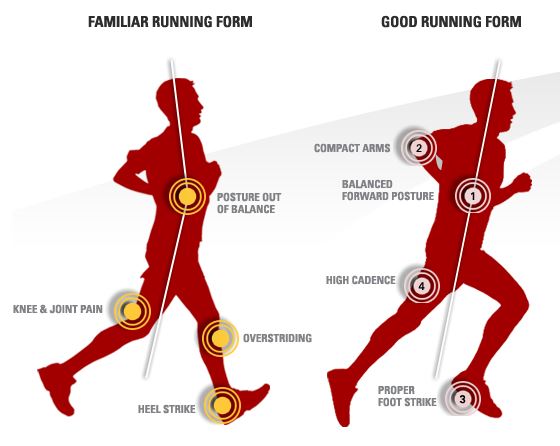
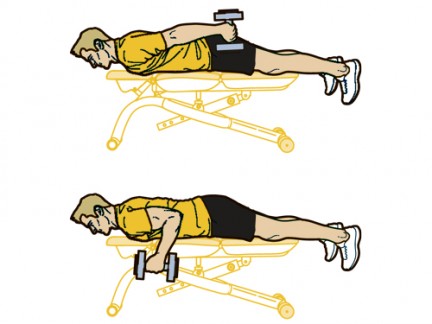
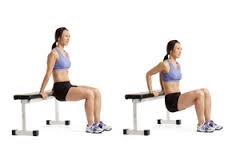
 Lie on your front. Keeping your thigh down, bend your knee as far as you easily can. This is more difficult because one of the knee muscles is tighter on your front.


")
")


")
")
")
")


")
")
")
")
")
")


Cycling is a truly invigorating and liberating experience, enjoyed by people of all ages and from all walks of life.
Whether you're cycling to work, to school, to the shops or just for fun, the humble bicycle is an easy way to get more active.
This guide is designed to make cycling a safe and enjoyable experience for beginners, and provide you with tips on staying motivated.
Before you start
For short journeys, any good working bike will do. You might have an old 10-speed racer, a shopping bike or a bargain mountain bike that you could use.
If you're buying a second-hand bike or you have an old bike that's been gathering dust, consider having it serviced at a bike shop to ensure it's roadworthy.
If you're buying a new bike, there are lots of models to choose from. Hybrids, road bikes and mountain bikes are most popular.
A bike shop can advise you on the correct frame size and help you select a bike to suit your budget and the type of cycling you want to do.
Find out if your workplace operates a cycle to work scheme. This is a more affordable way of buying a new bike and safety equipment.
There are many bikes available for people with disabilities. The two main providers of specialist bikes are Wheels for All and CTC.
For most people, cycling is a safe and effective form of exercise. If you have any health concerns or an existing medical problem, see your GP before you start.
Cycling safely
If you haven't cycled much before or you're out of the habit of cycling, find yourself a traffic-free area to start off in, such as your local park.
Practise riding single-handed so you can make hand signals, and get comfortable looking over both shoulders to improve your visual awareness.
To learn to cycle with confidence, see CTC's cycle training or Bikeability for information on training schemes, some of which are free.
Before you start cycling in traffic, check the Highway Code for up-to-date rules and regulations for cyclists.
Health benefits
Regular cycling can reduce the risk of chronic illnesses such as heart disease, type 2 diabetes and stroke. It can also boost your mood and keep your weight under control.
For health benefits, adults and older adults should do at least 2 hours and 30 minutes (150 minutes) of moderate-intensity activity each week.
Children and young people should do at least an hour (60 minutes) of moderate to vigorous intensity activity every day.
A 30-minute ride will count towards your recommended weekly activity target.
Staying motivated
Make it a habit
The easiest way to cycle regularly is to use your bike as a means of everyday transport. Work out your routes using journey planning websites such as Sustrans and Cycle Streets.
If you want some company on your bike ride, whether it's to work or just for fun, find a cycling pal using BikeBUDi. The free Bike Hub app finds the quickest or quietest cycle routes, on roads or on cycle paths. It can also locate the nearest bike shops.
Cycle to work
Commuting by bike is cheap, green and one of the easiest ways to fit exercise into your routine. Work out your route to work using Sustrans or contact your local council for free cycling maps. Transport for London has an interactive cycle journey planner and free local cycling maps.
Cycle to school
Riding to school is a great way to get the kids more active. Cycling has many benefits for children such as improved health, confidence and concentration. Parents may want to accompany younger children, which makes it a good way for grown-ups to get cycling, too.
Mix it up
There are many wonderful places to cycle in cities and the countryside. Cycling is an ideal way for friends and families to explore their neighbourhood and beyond. Sustrans has free information packs about cycling in your region.
Join a bike ride
From charity rides to park cycles, signing up for a bike ride is a great way to stay motivated and experience the great outdoors. Find a bike ride near you using Bike Hub's events search or Sky and British Cycling's Sky Ride.
Source: NHS UK